I have been looking for a decent HF 0-30MHz antenna for my KiwiSDR and came across the DIY WellGood Loop antenna https://www.george-smart.co.uk/projects/wellgood-loop/. While searching the old interwebs it seems they have great reviews, very comparable, and in some cases better results than a WellBrook. I emailed George per his website and ordered 2 kits. About 2 weeks later they arrived and our journey begins.
I started by heading to my local home store and picked up a few things.
- 5/8″OD x 20′ Utility Copper Tubing You only need 3.1 meters, 122.04 inches or 10.17 ft. of tube.
- Type X Round 1/2″ or 3/4″ 15.16 Cu.In. PVC Electrical Junction Box & Cover
- 2 – 1/4″ x 1″ Stainless Steel Hex Bolts
- 2 – 1/4″ Stainless Steel Flat Washers
- 4 – 1/4″ Stainless Steel Hex Nuts – You could get 2 wing nuts if you plan on being mobile.
- 1 – 3/4″ PVC plumbing pipe. Only need about 3ish ft.
- 1 – 3/4″ PVC Plumbing T
- 1 – Can of Grey spray paint. I get Rust-Oleum.
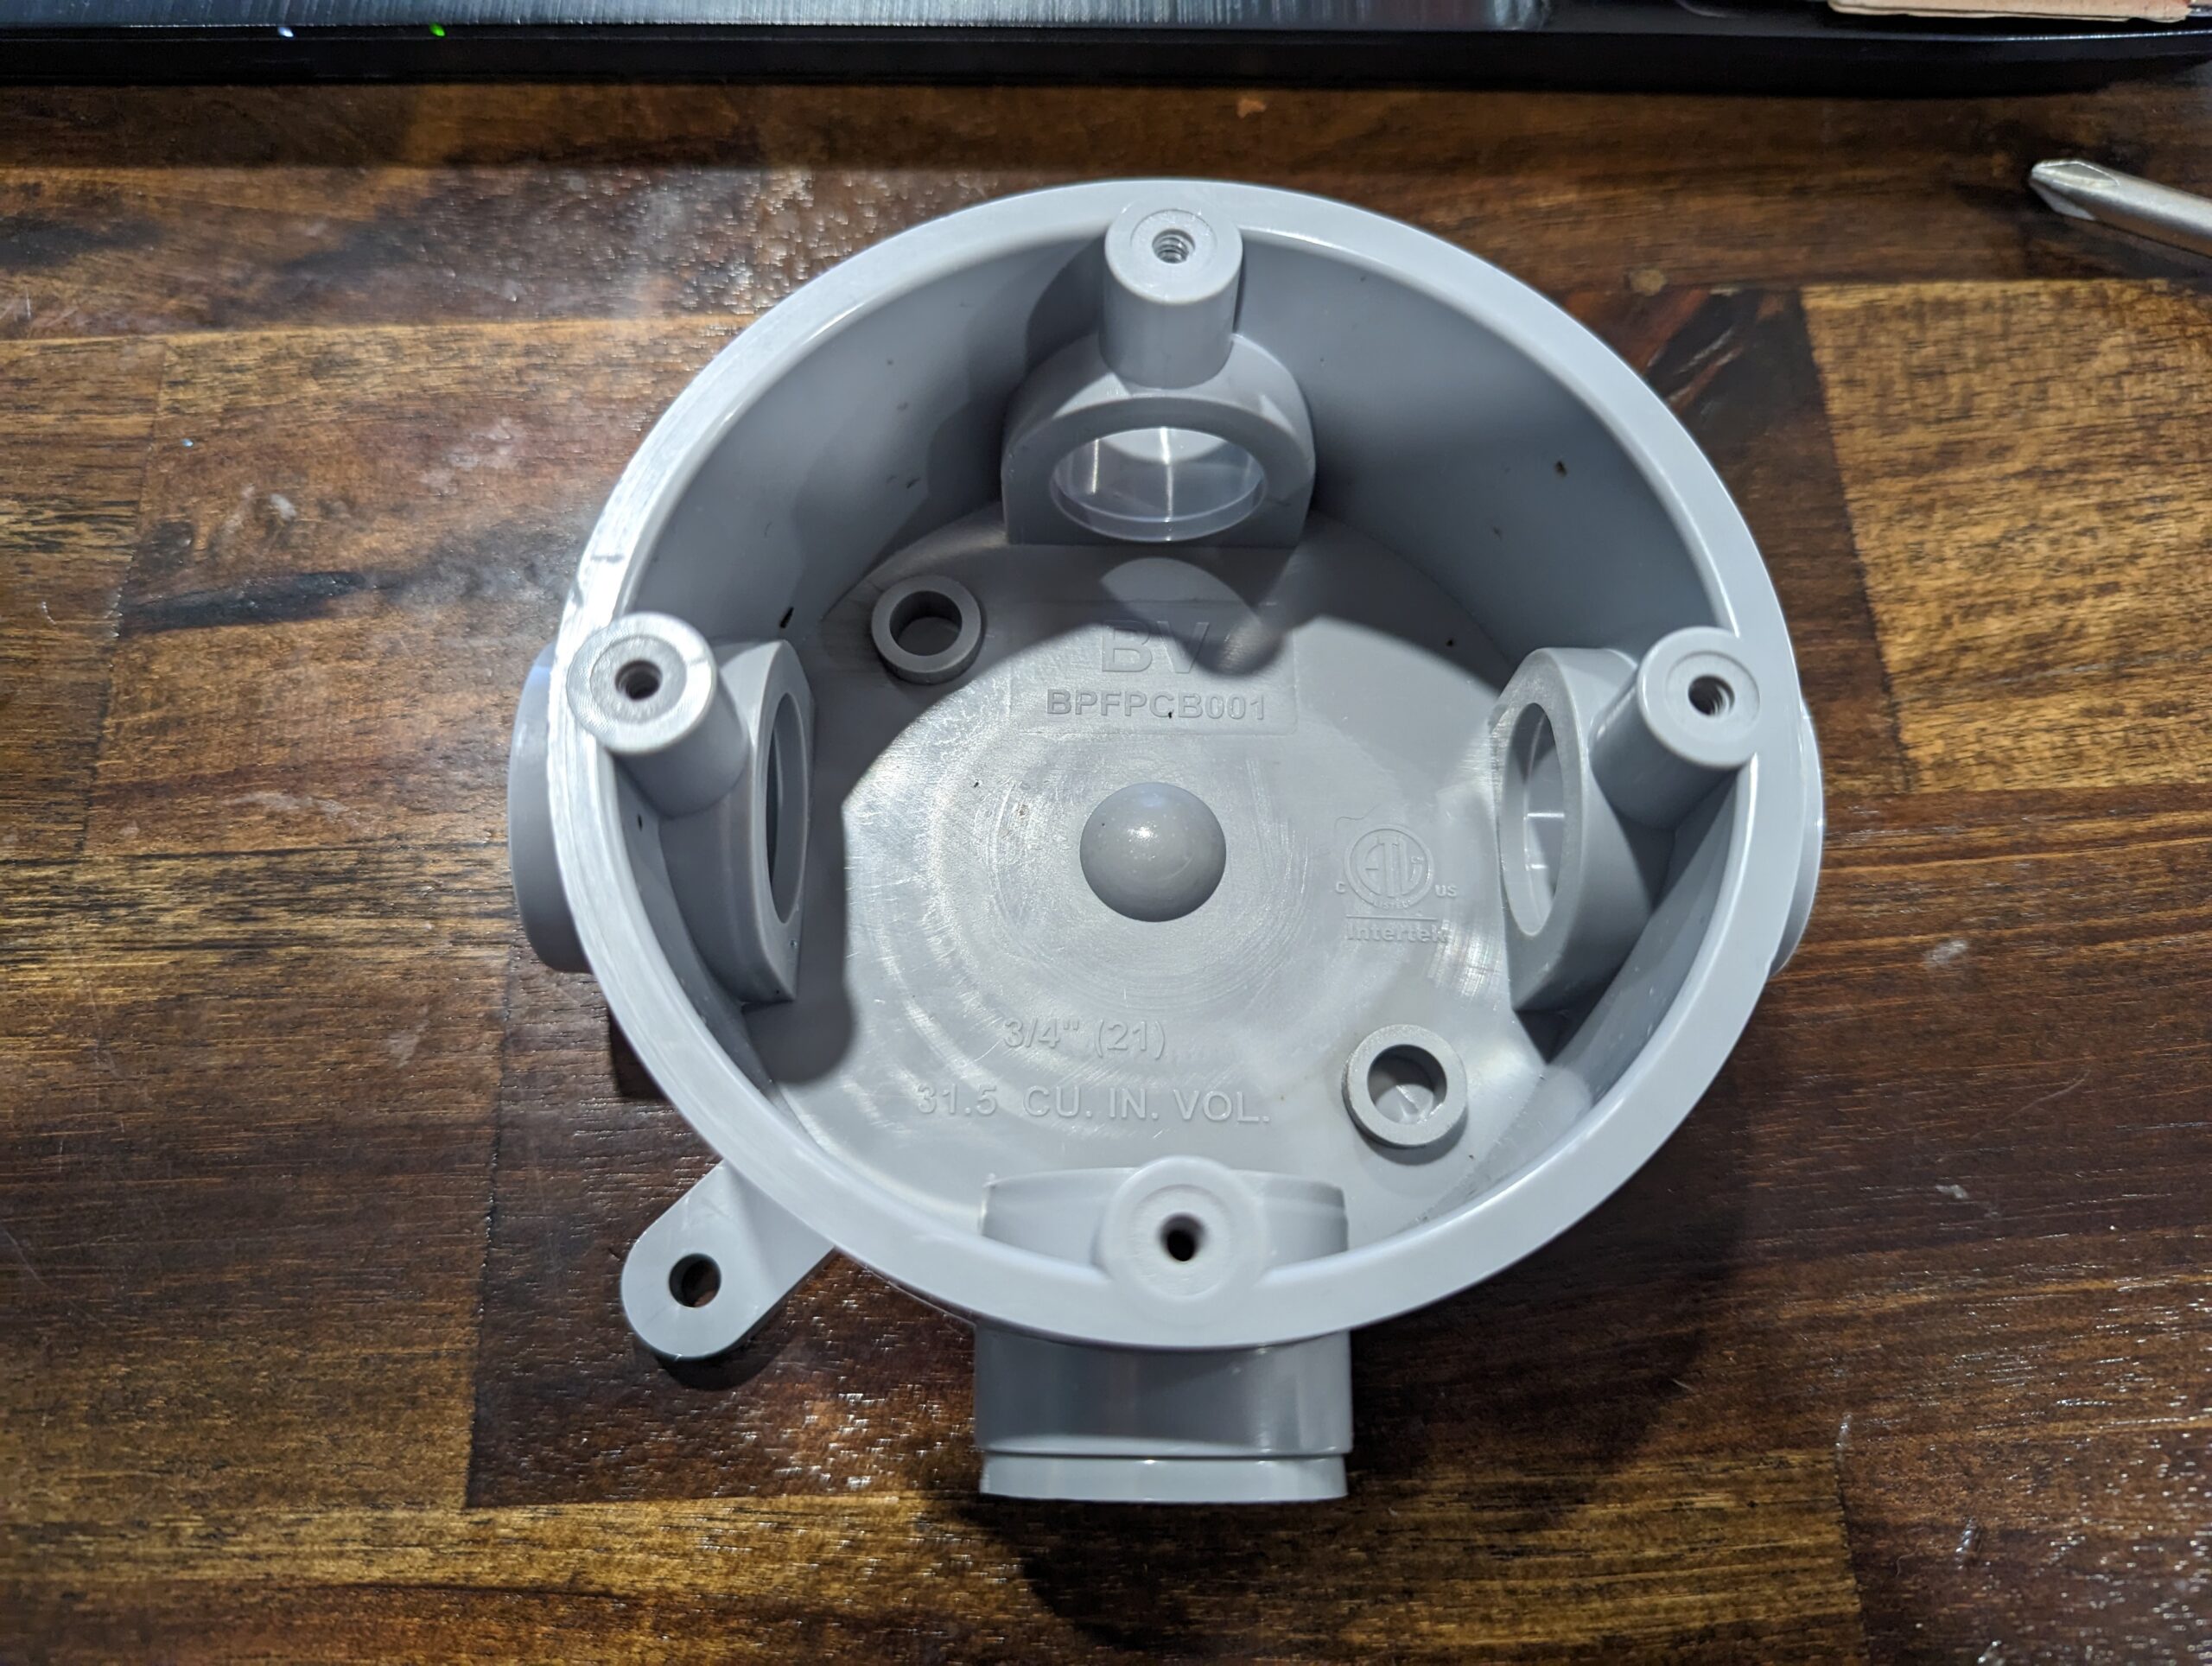
First we need to remove the four screws from the PVC cover and remove it. Inside I found 4 inserts and a foam gasket.
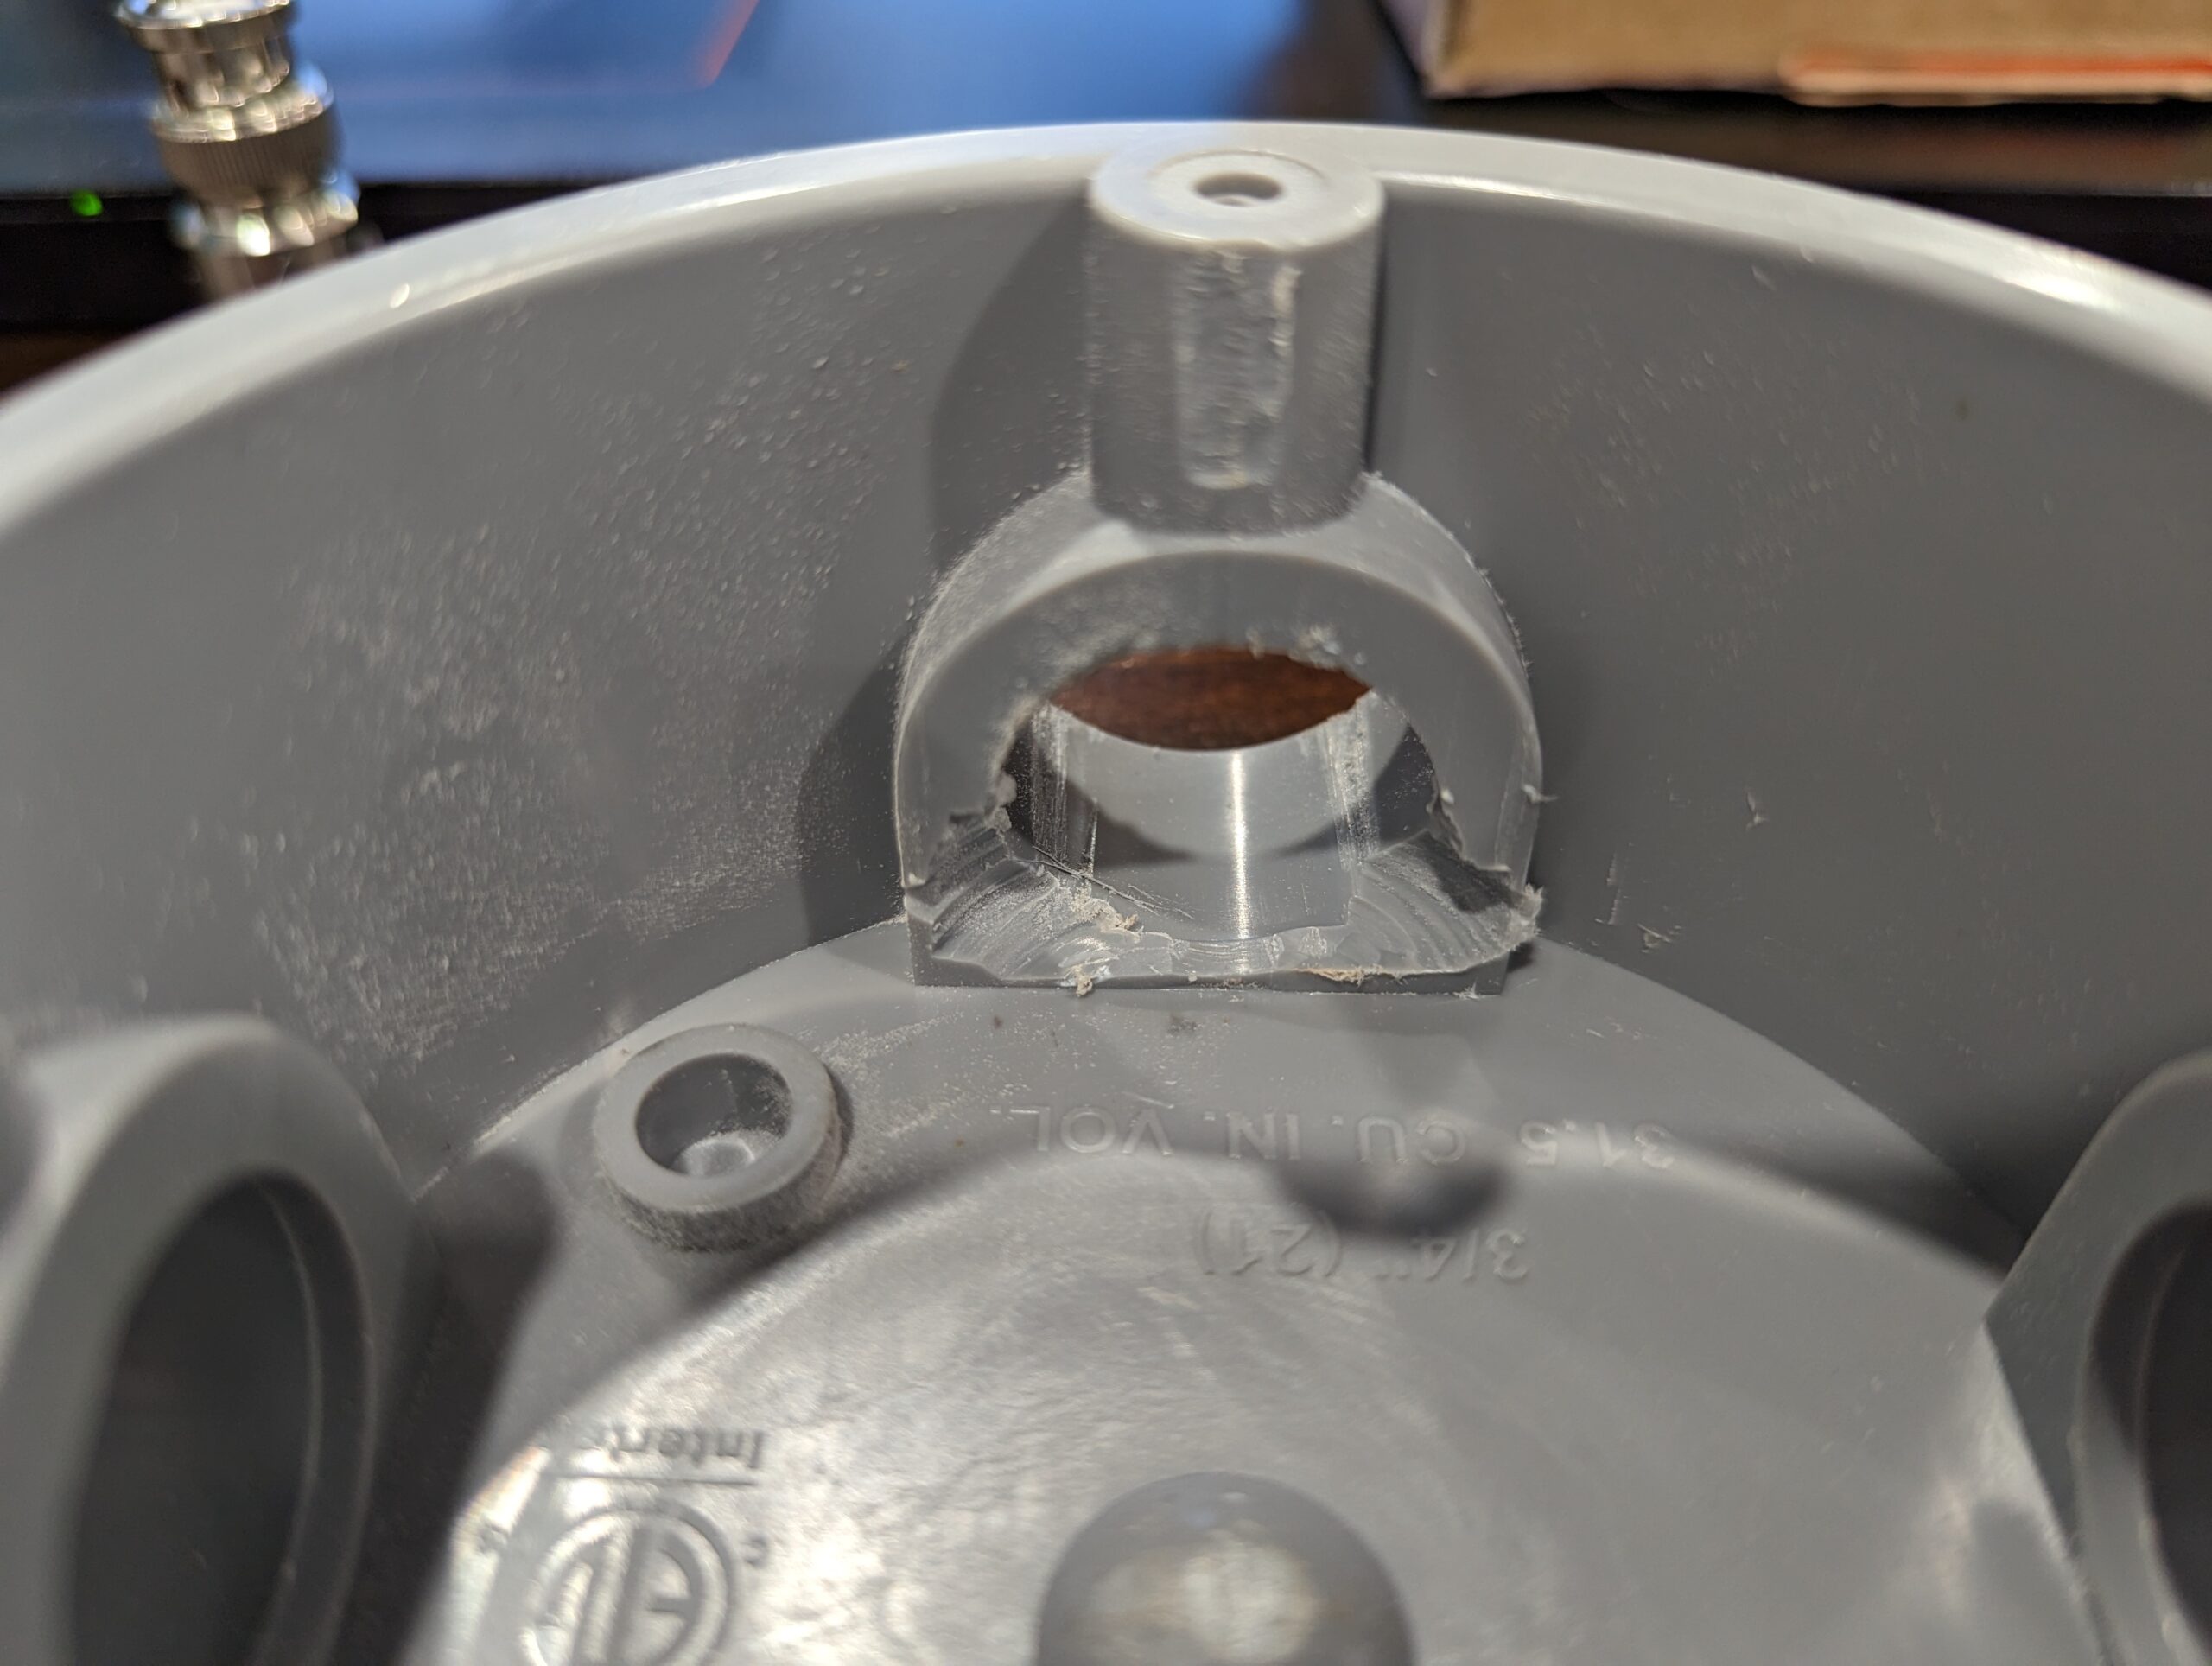
Next, I used my Dremel and removed some of the plastic to make way for the circuit board.
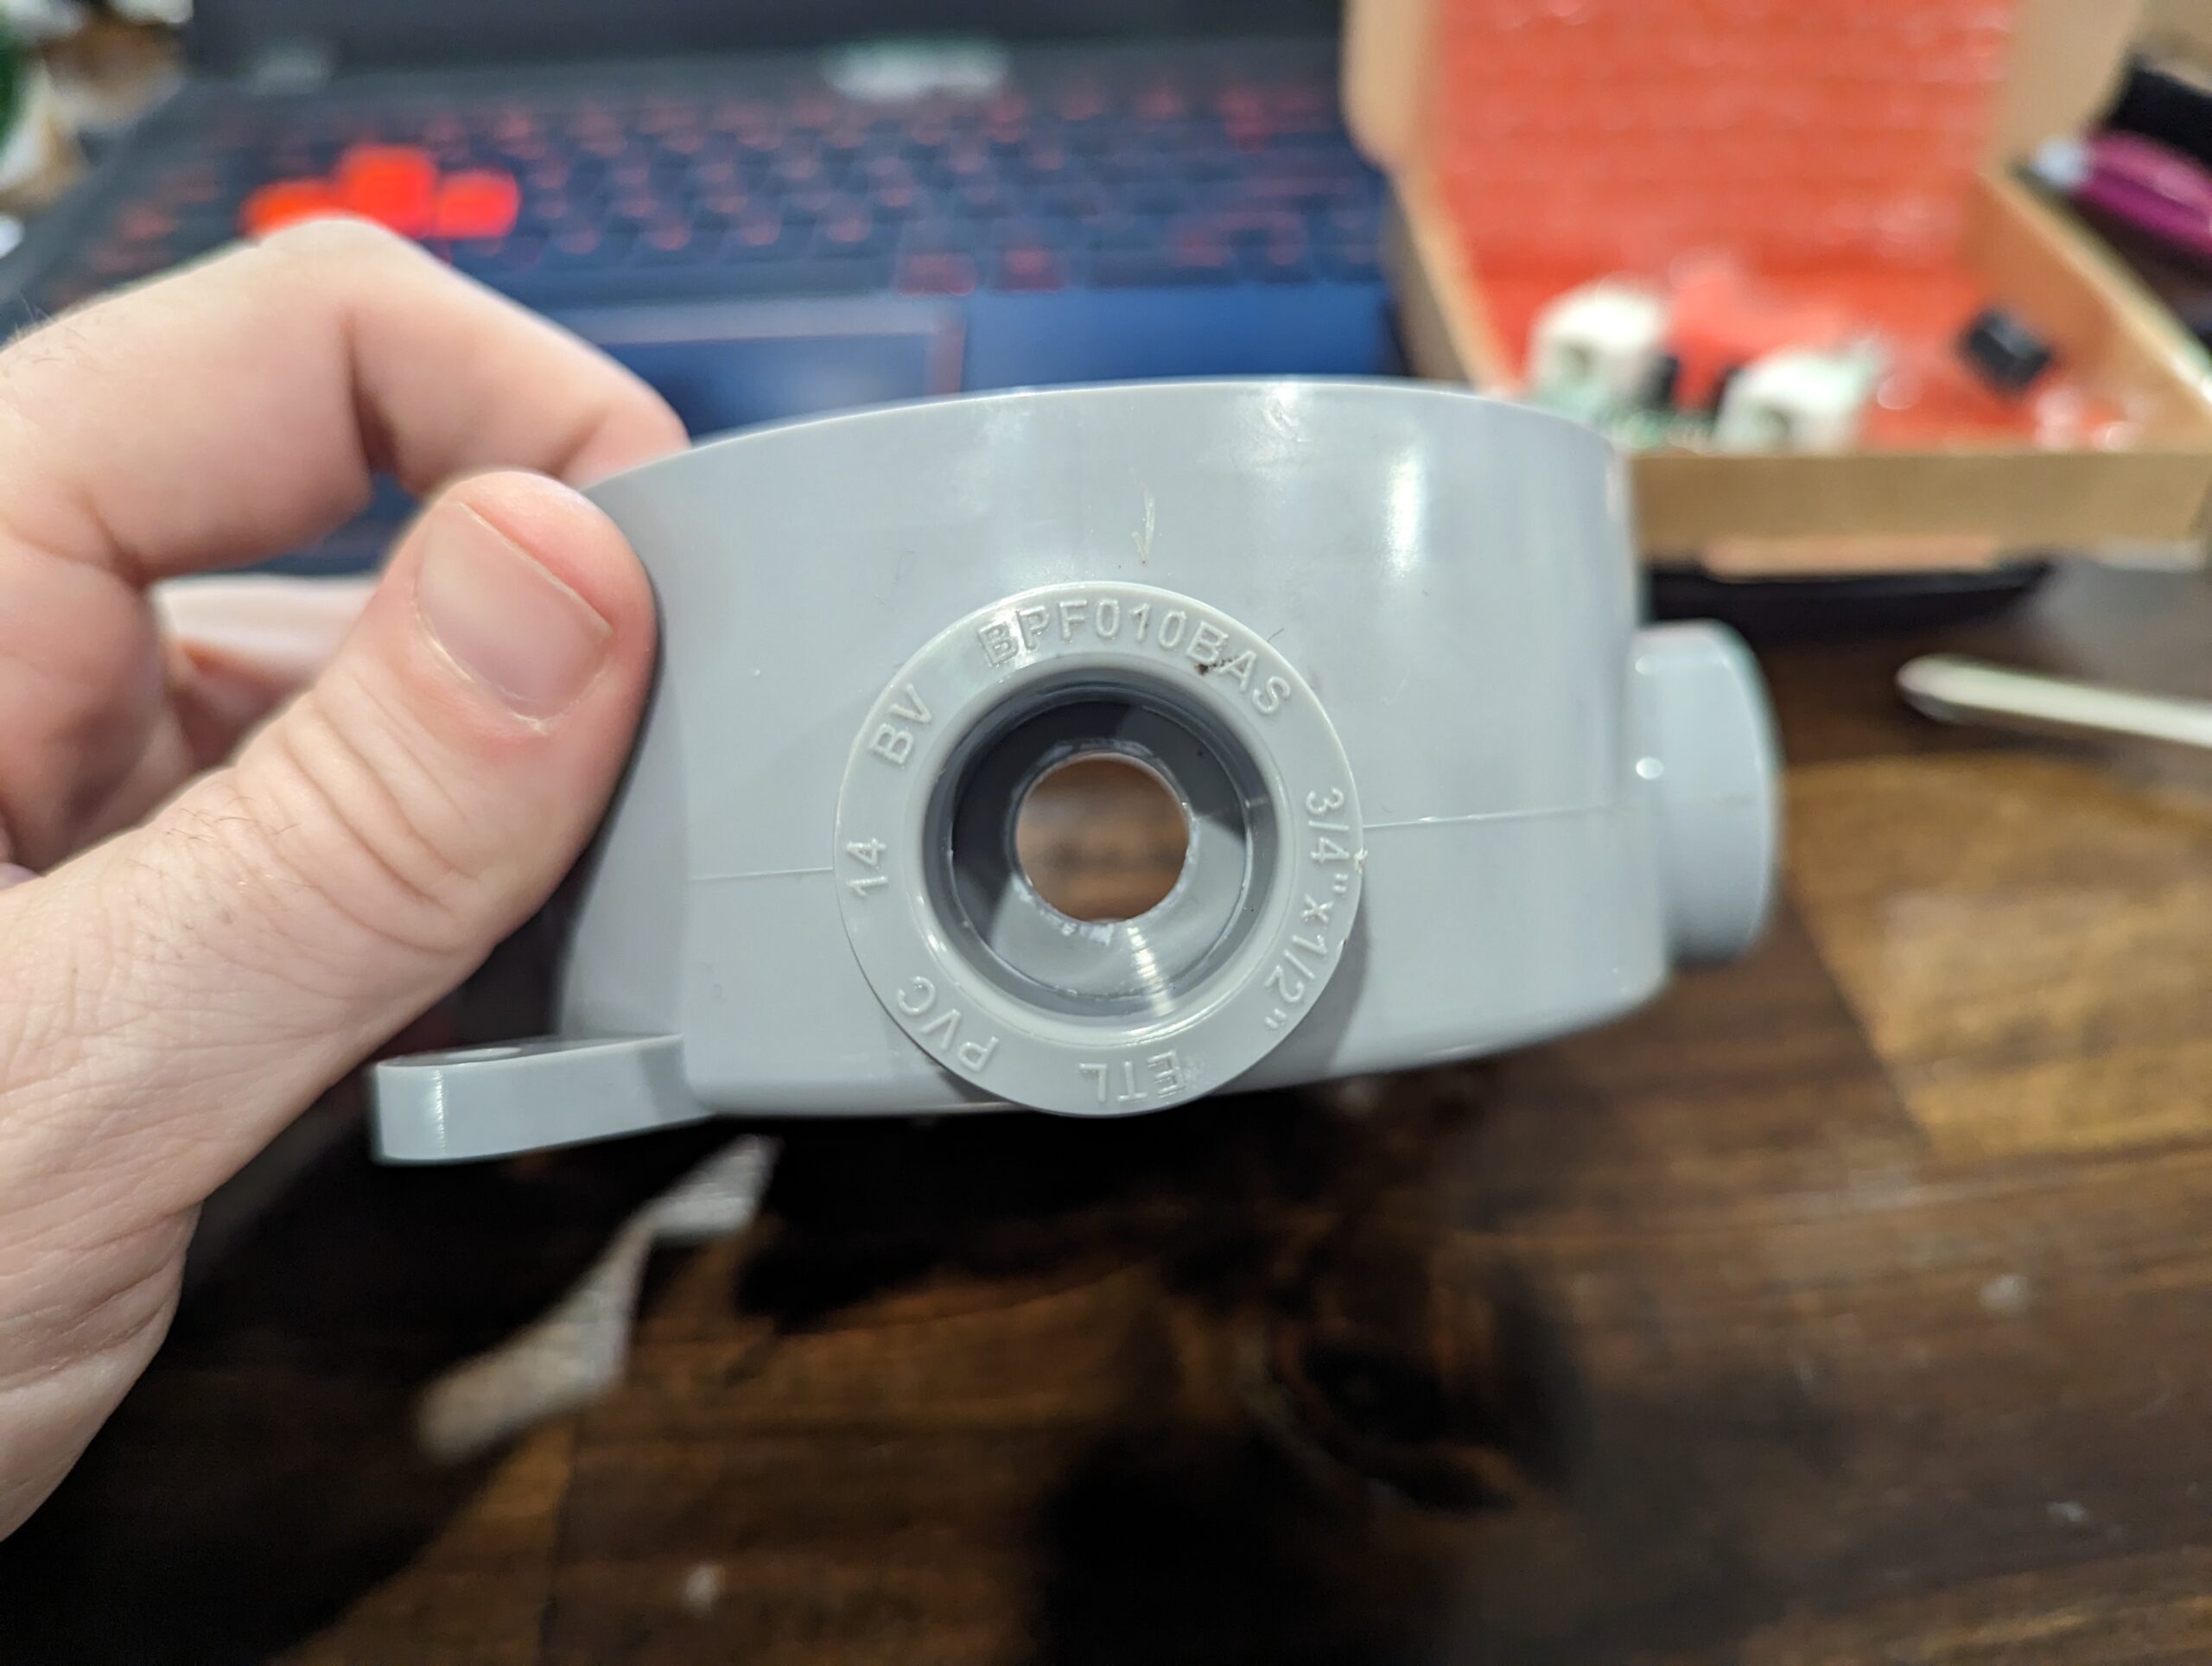
I then took one of the inserts that came with it and drill the hole big enough to fit the BNC connector through. I would give a size but my drill bit has no markings on it. Start small work your way bigger.
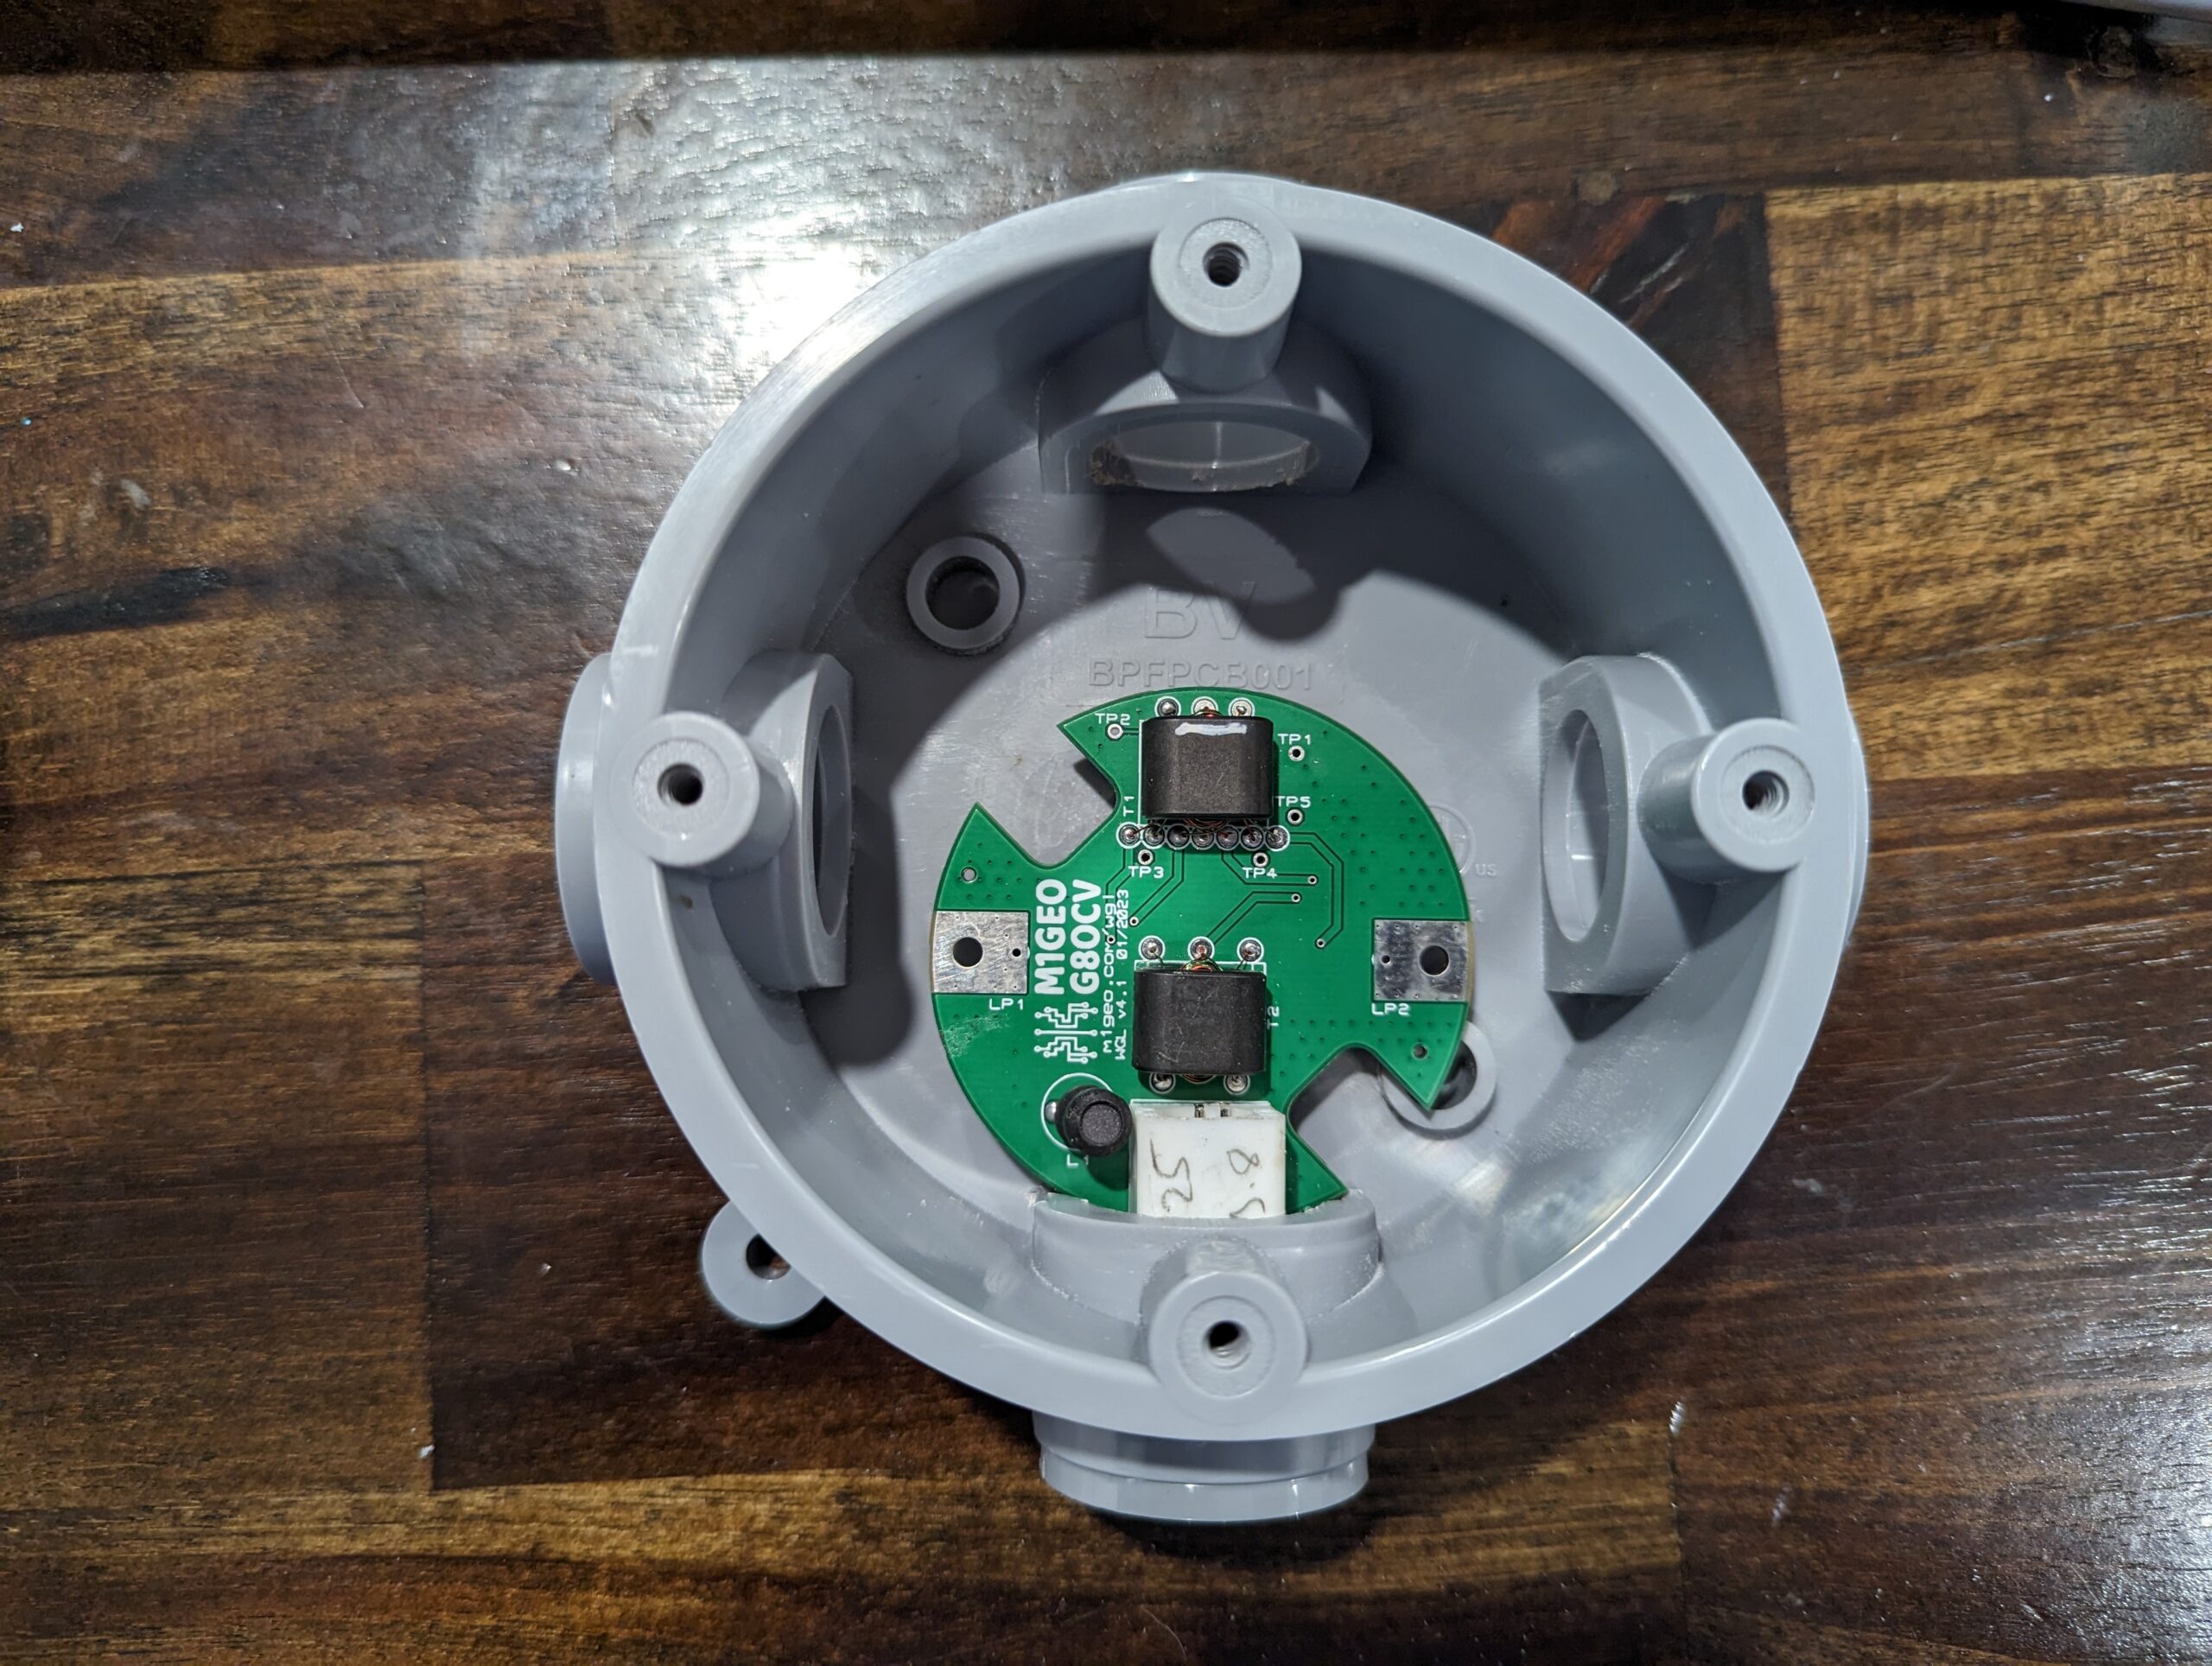
I mounted the circuit board by feeding the BNC connector through the hole and tightening the washer and nut.
Don’t tighten this too tight as I found out it strips super easy so I used a couple dabs of super glue gel to help hold it in place once tight.
Here I took two of the inserts that came with it and used my Dremel and cut the lip off. I did this so I could insert them backwards flush mounted with the outside of the housing. This gives a nice place to mount the loop.
I took my bolts and wrapped some copper around it leaving it long to cut down later.
I installed the bolts and tightened the nuts for good contact.
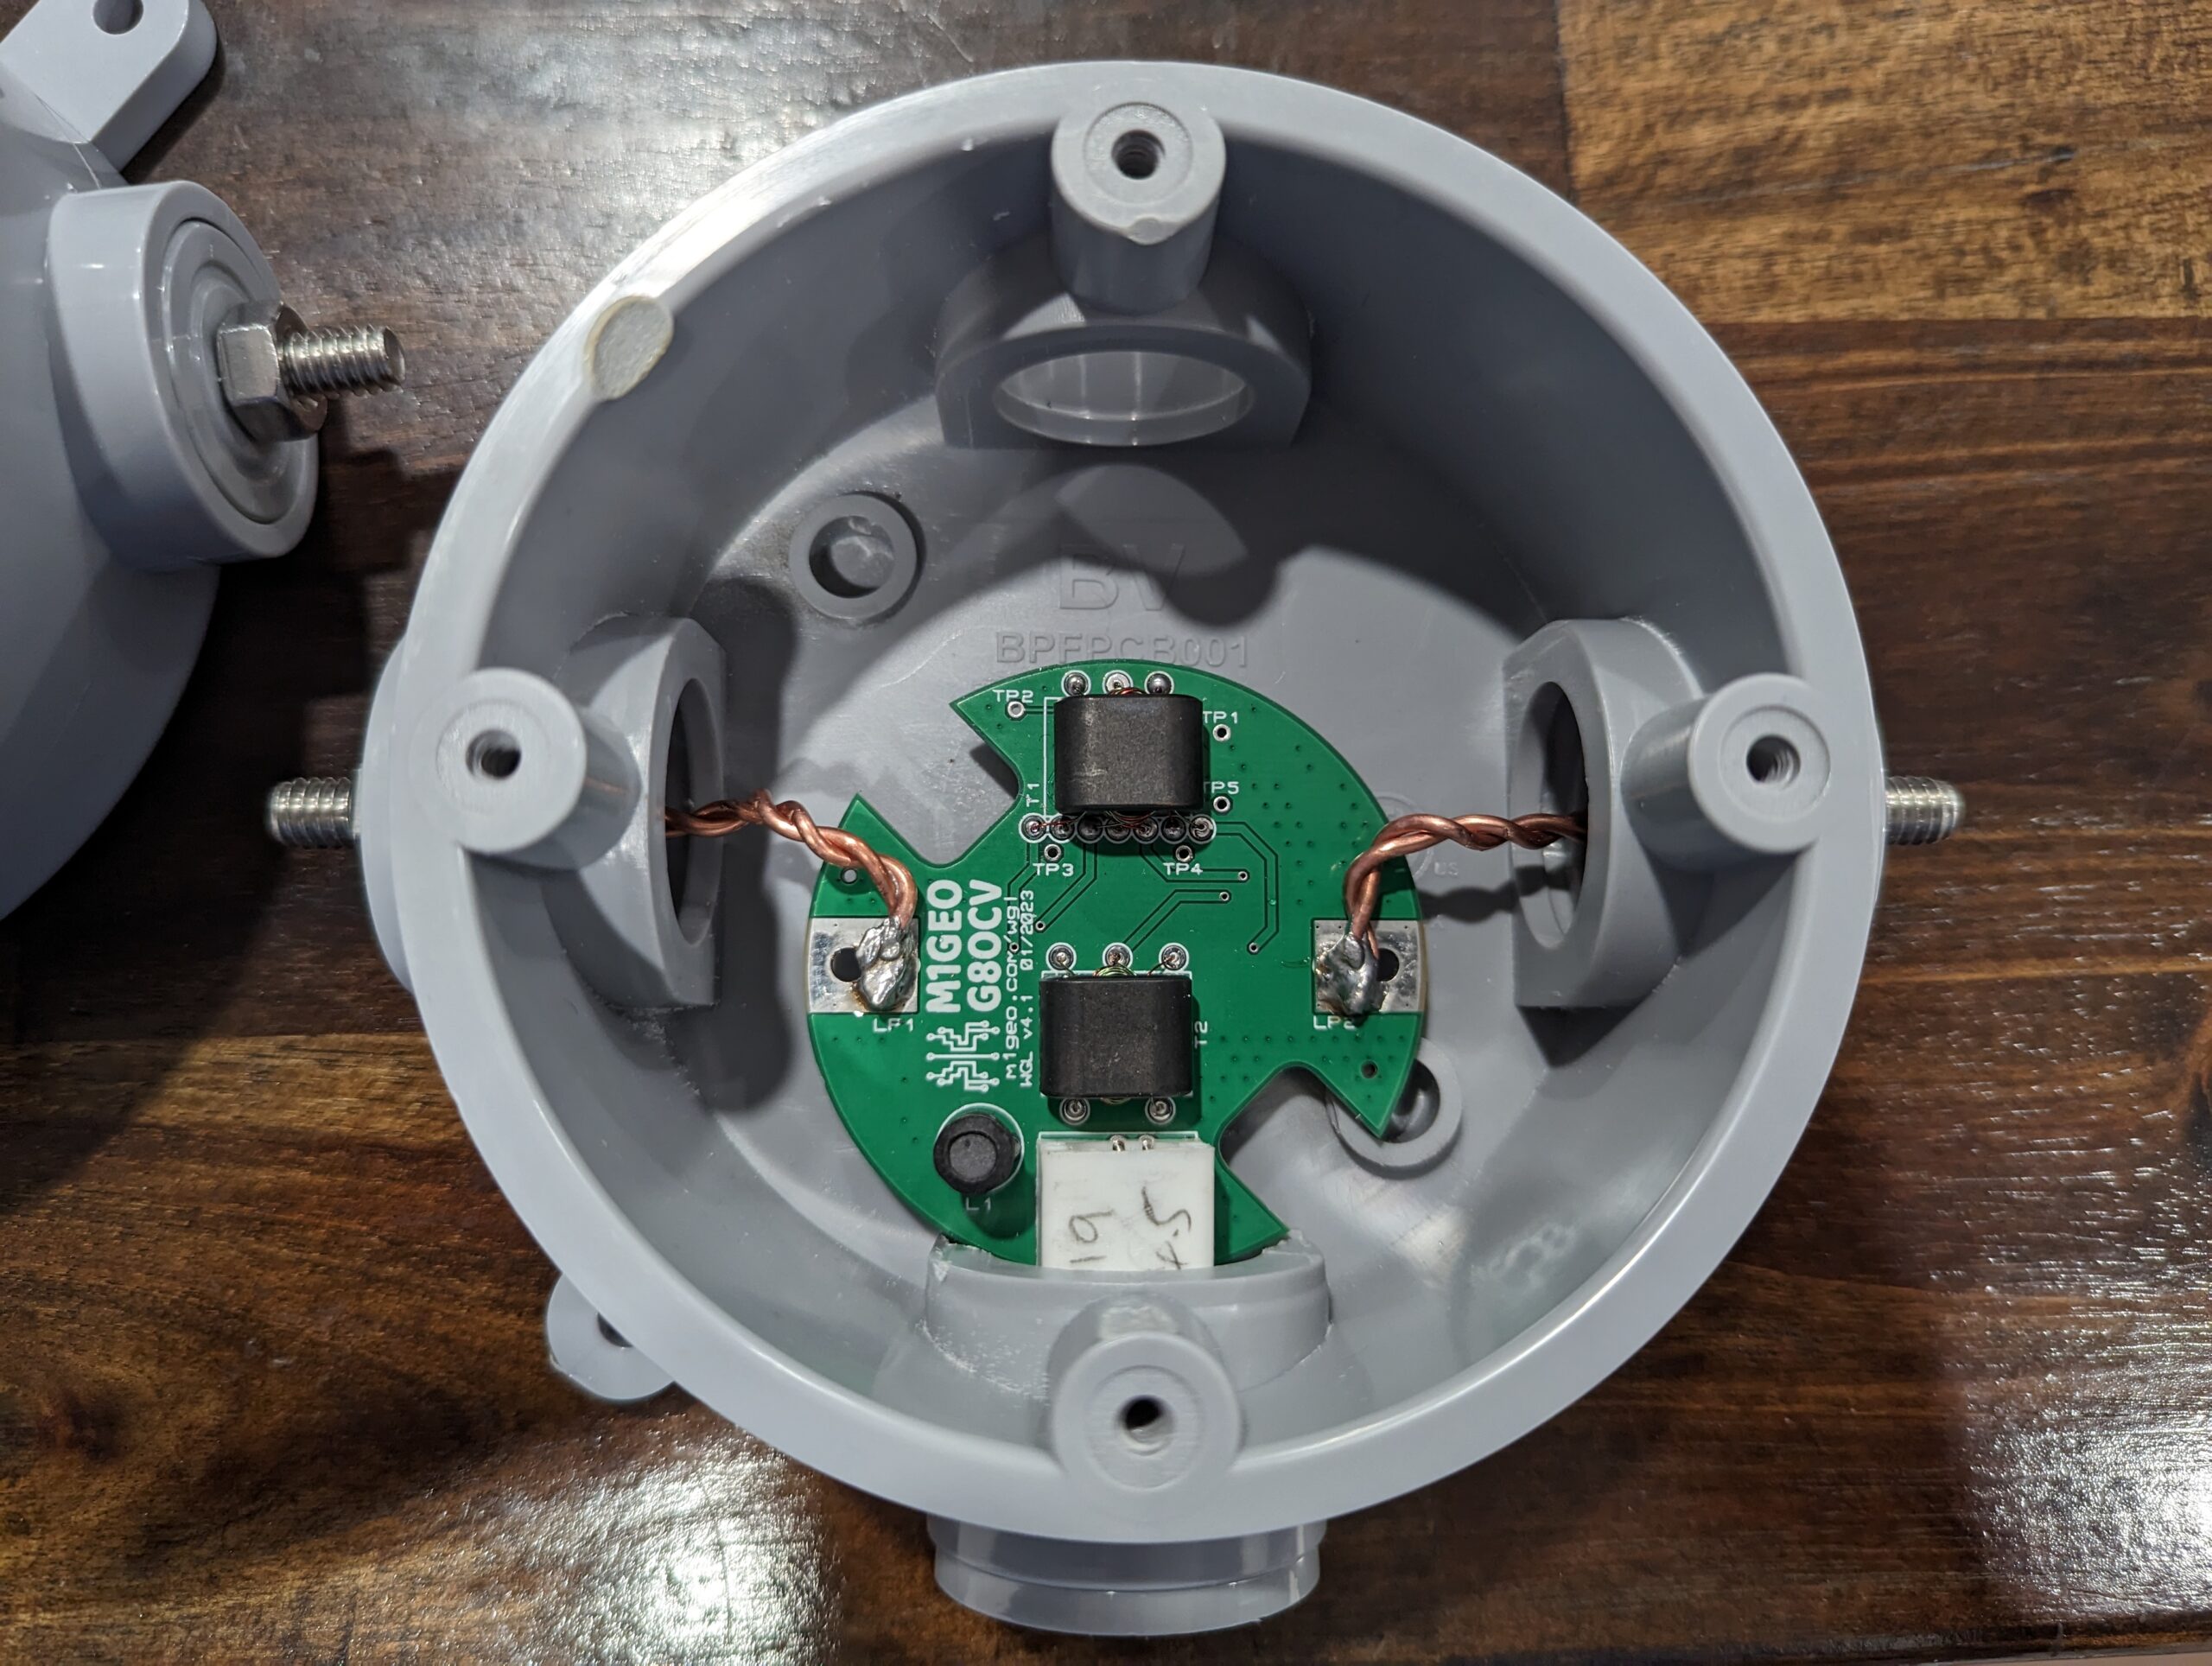
Take care in bending the copper wire to the soldering pads and solder the connection.
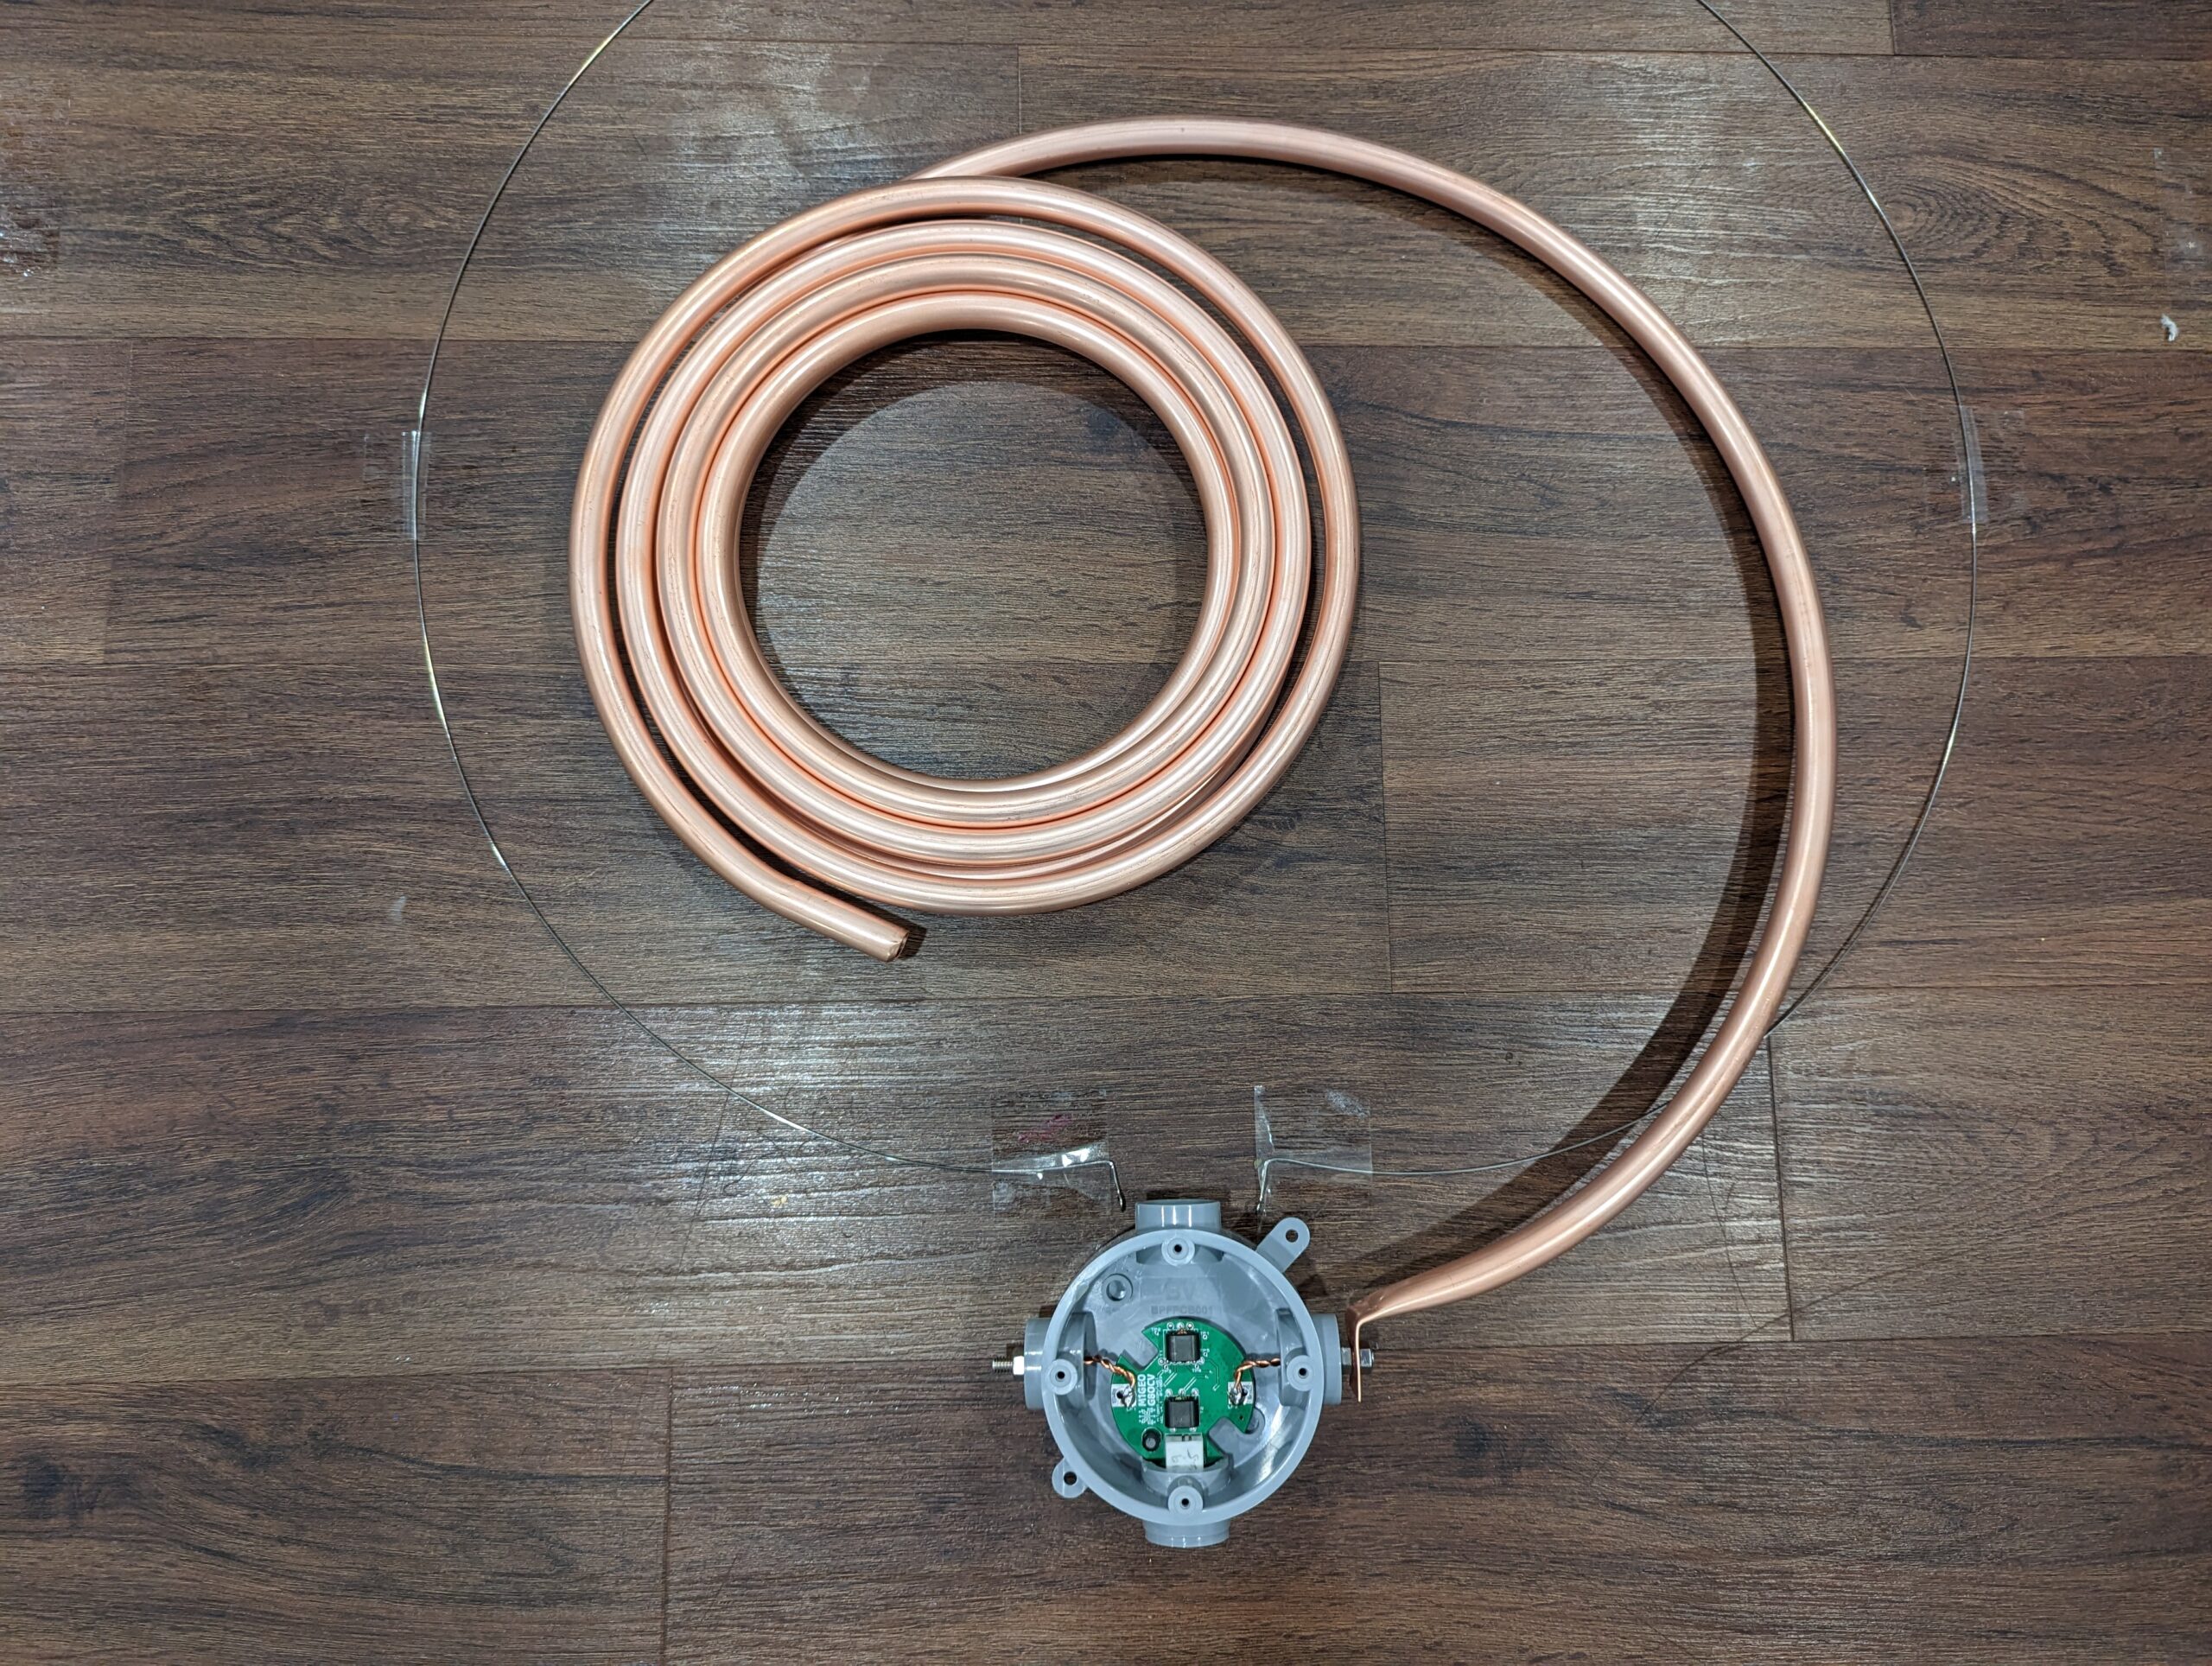
I hammered the end of the copper tube flat and drilled a hole to connect it. Bend the tab and start unrolling the loop. Take care as to not kink the copper tube.
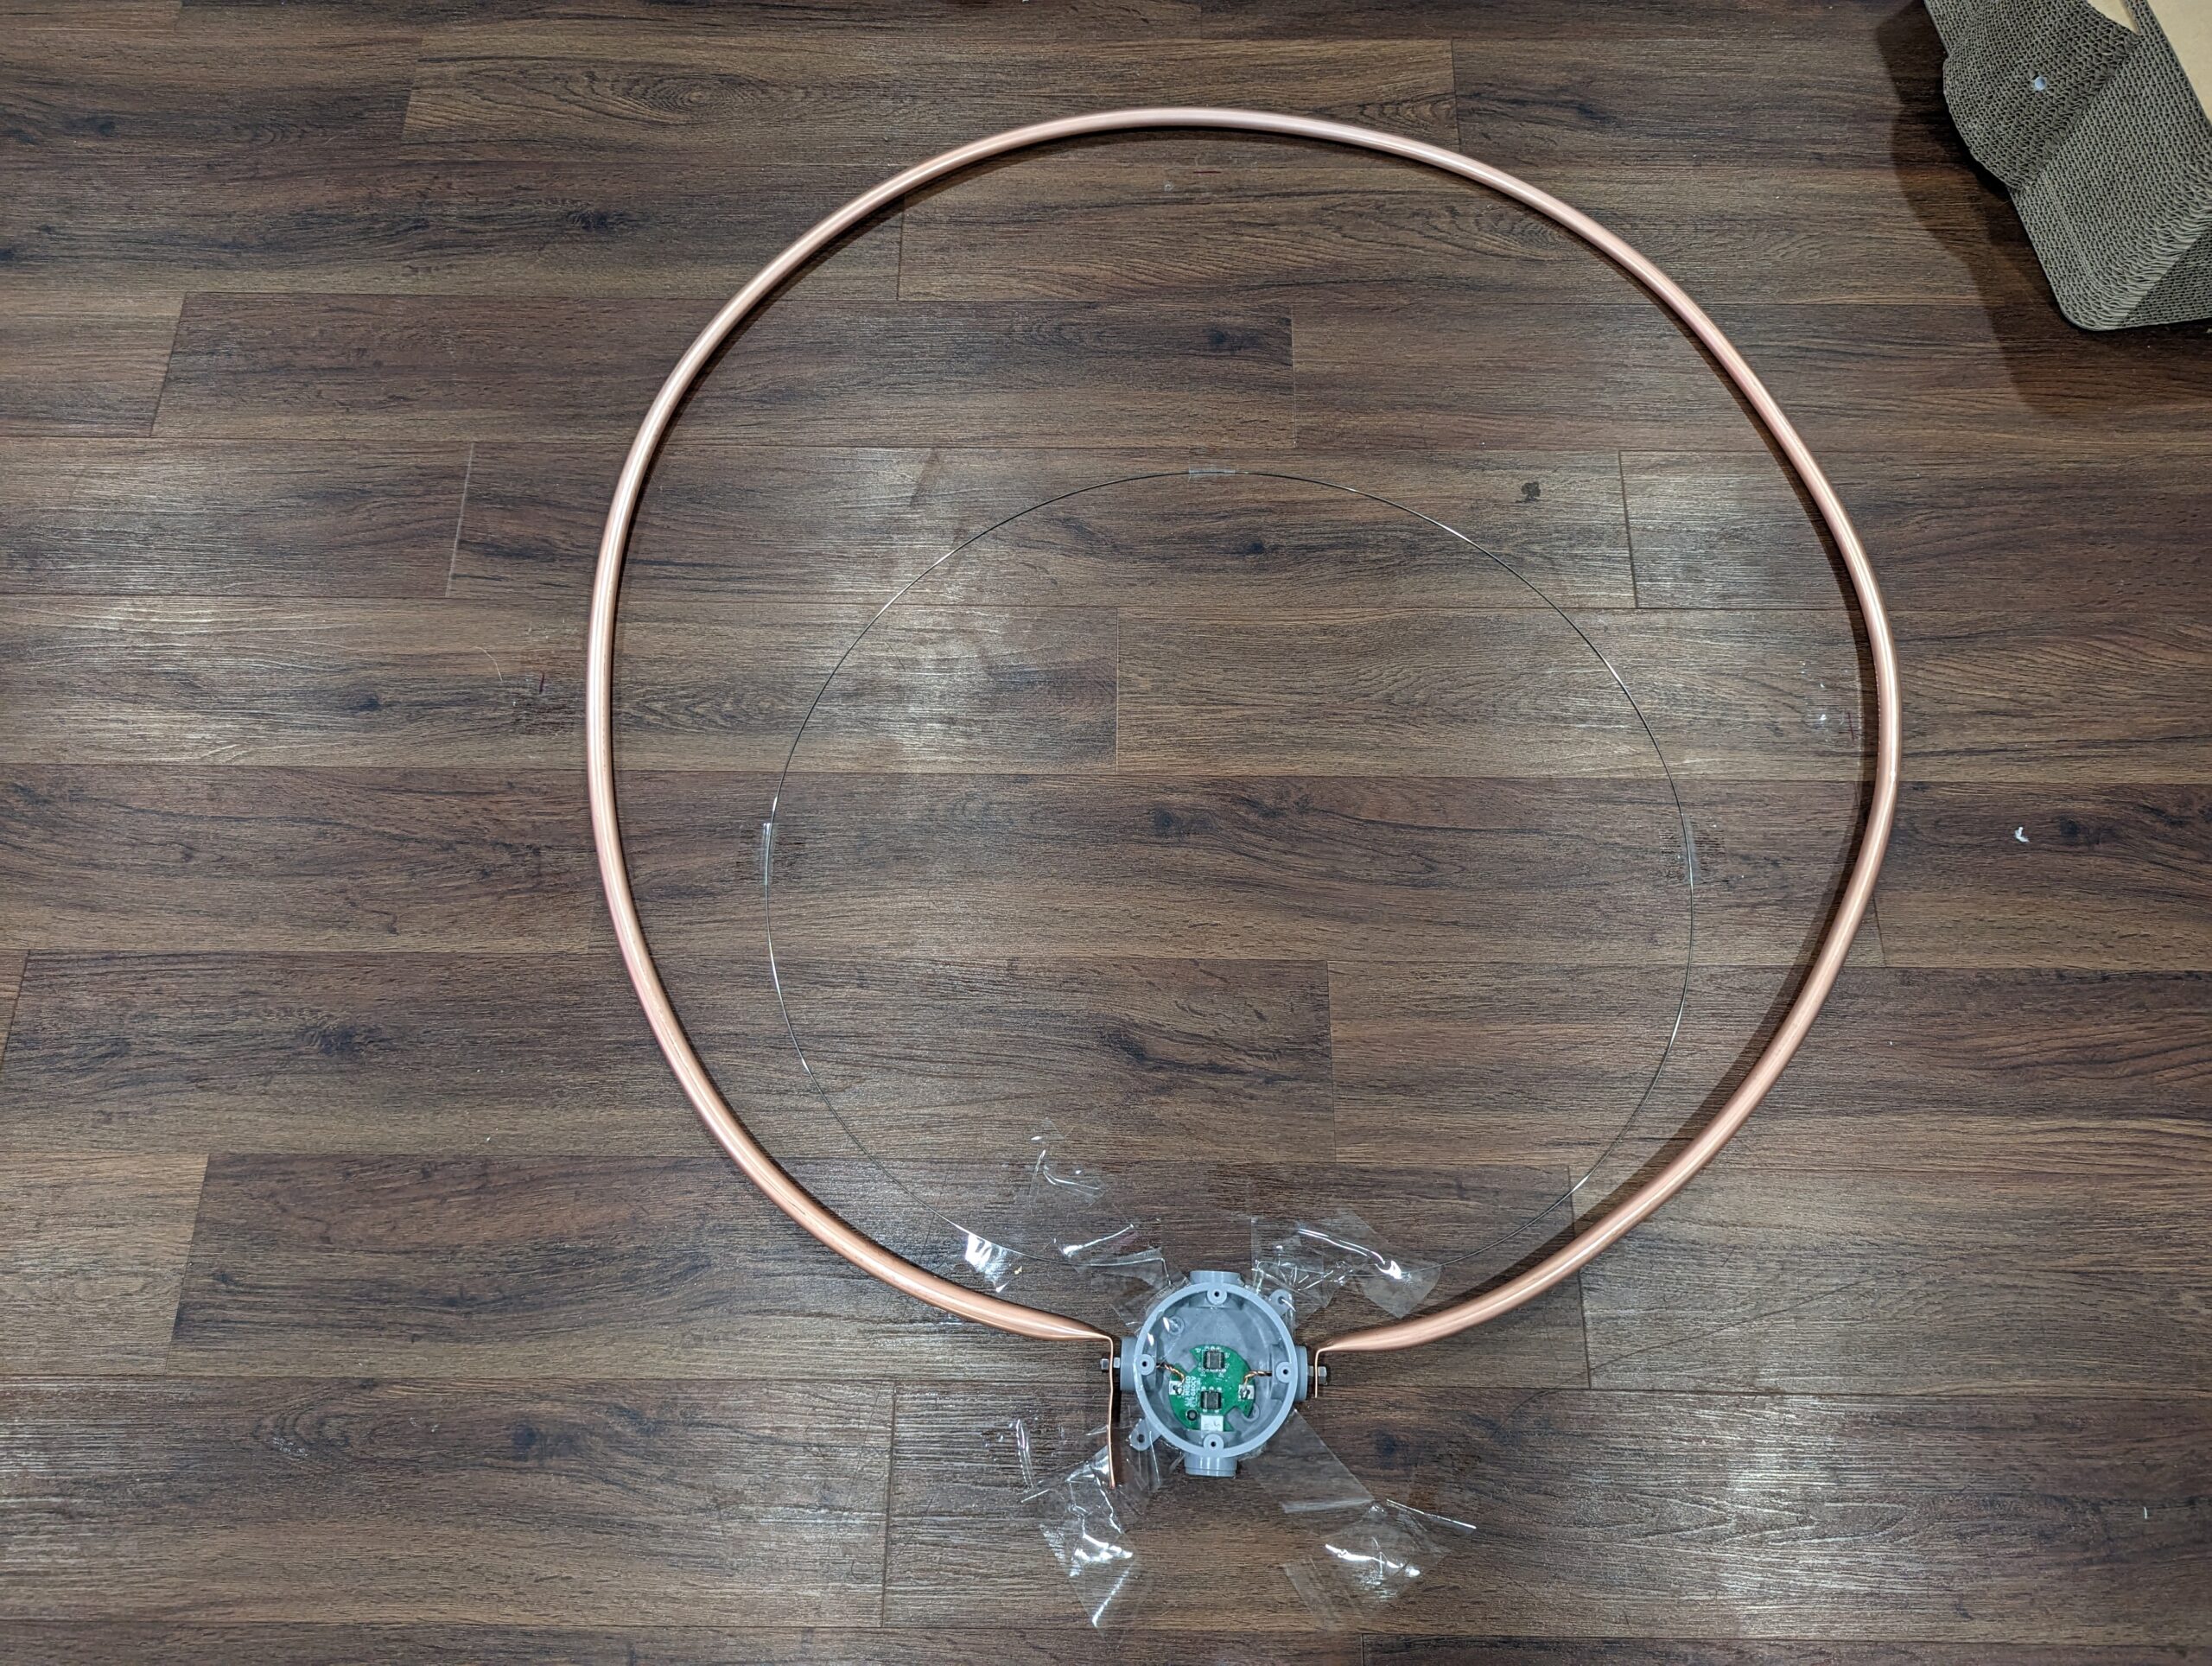
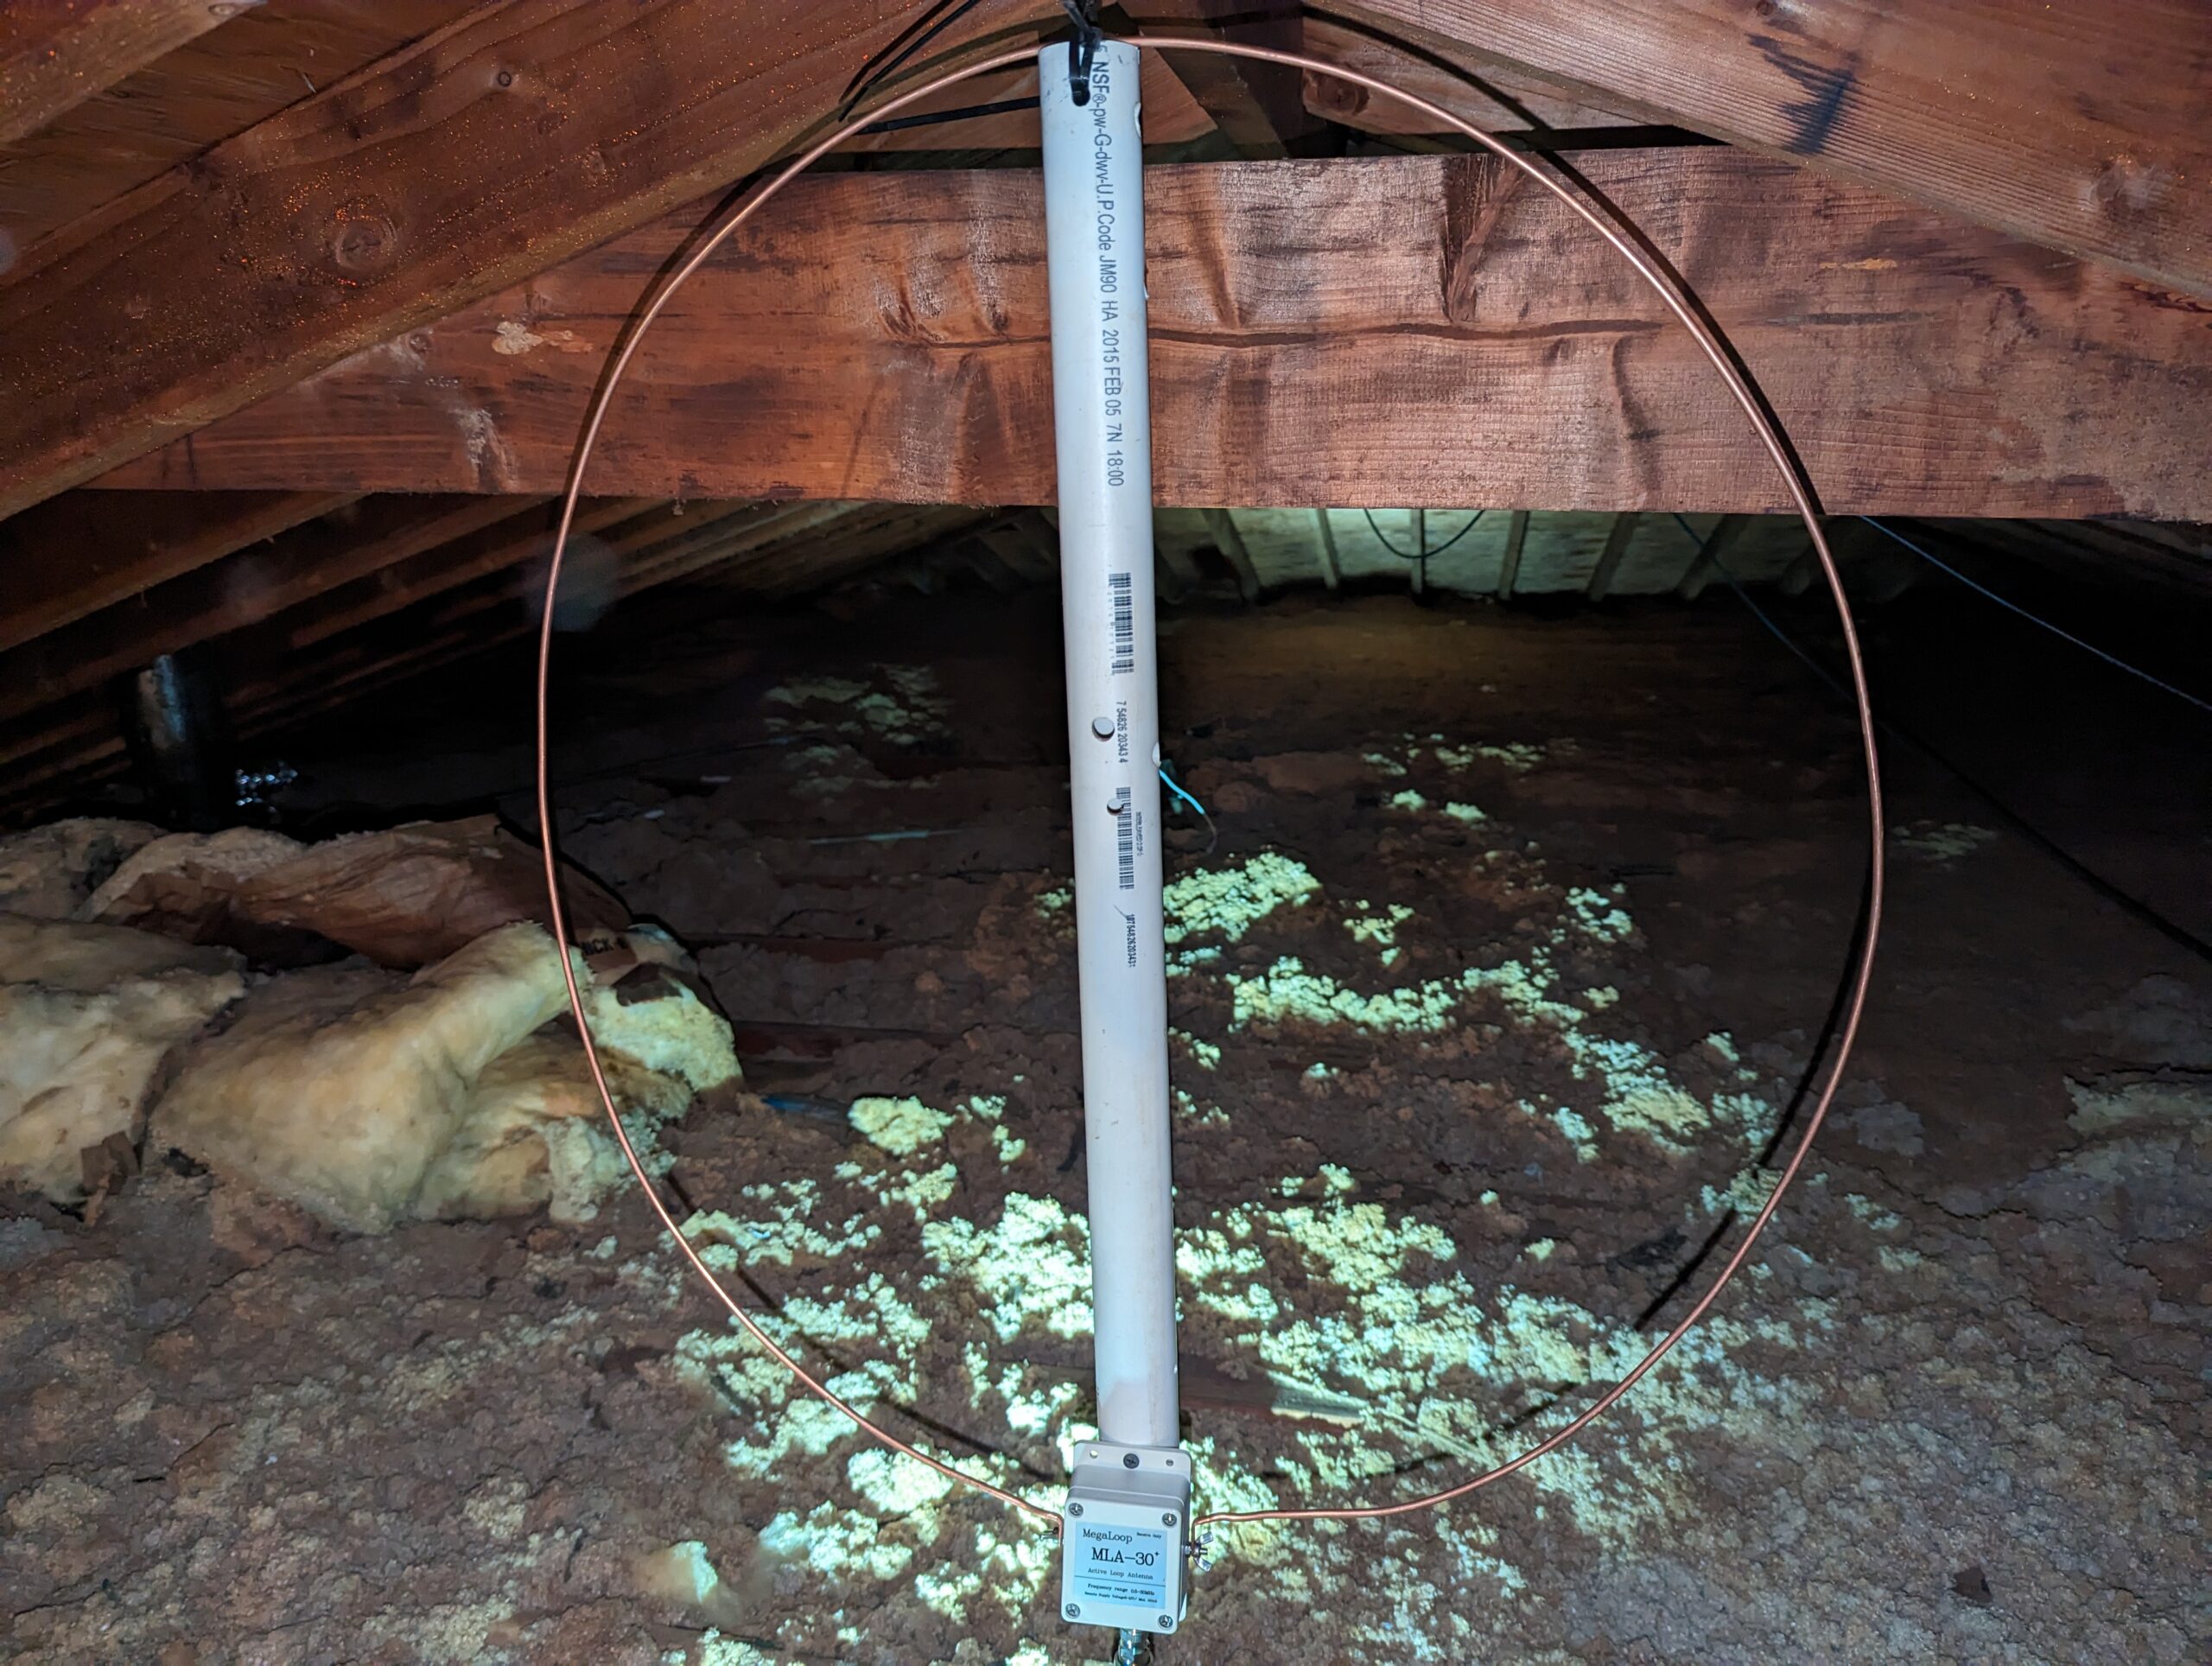
Here is my 1 meter loop after hammering the other end and drilling it for connection, next cut the excess off.
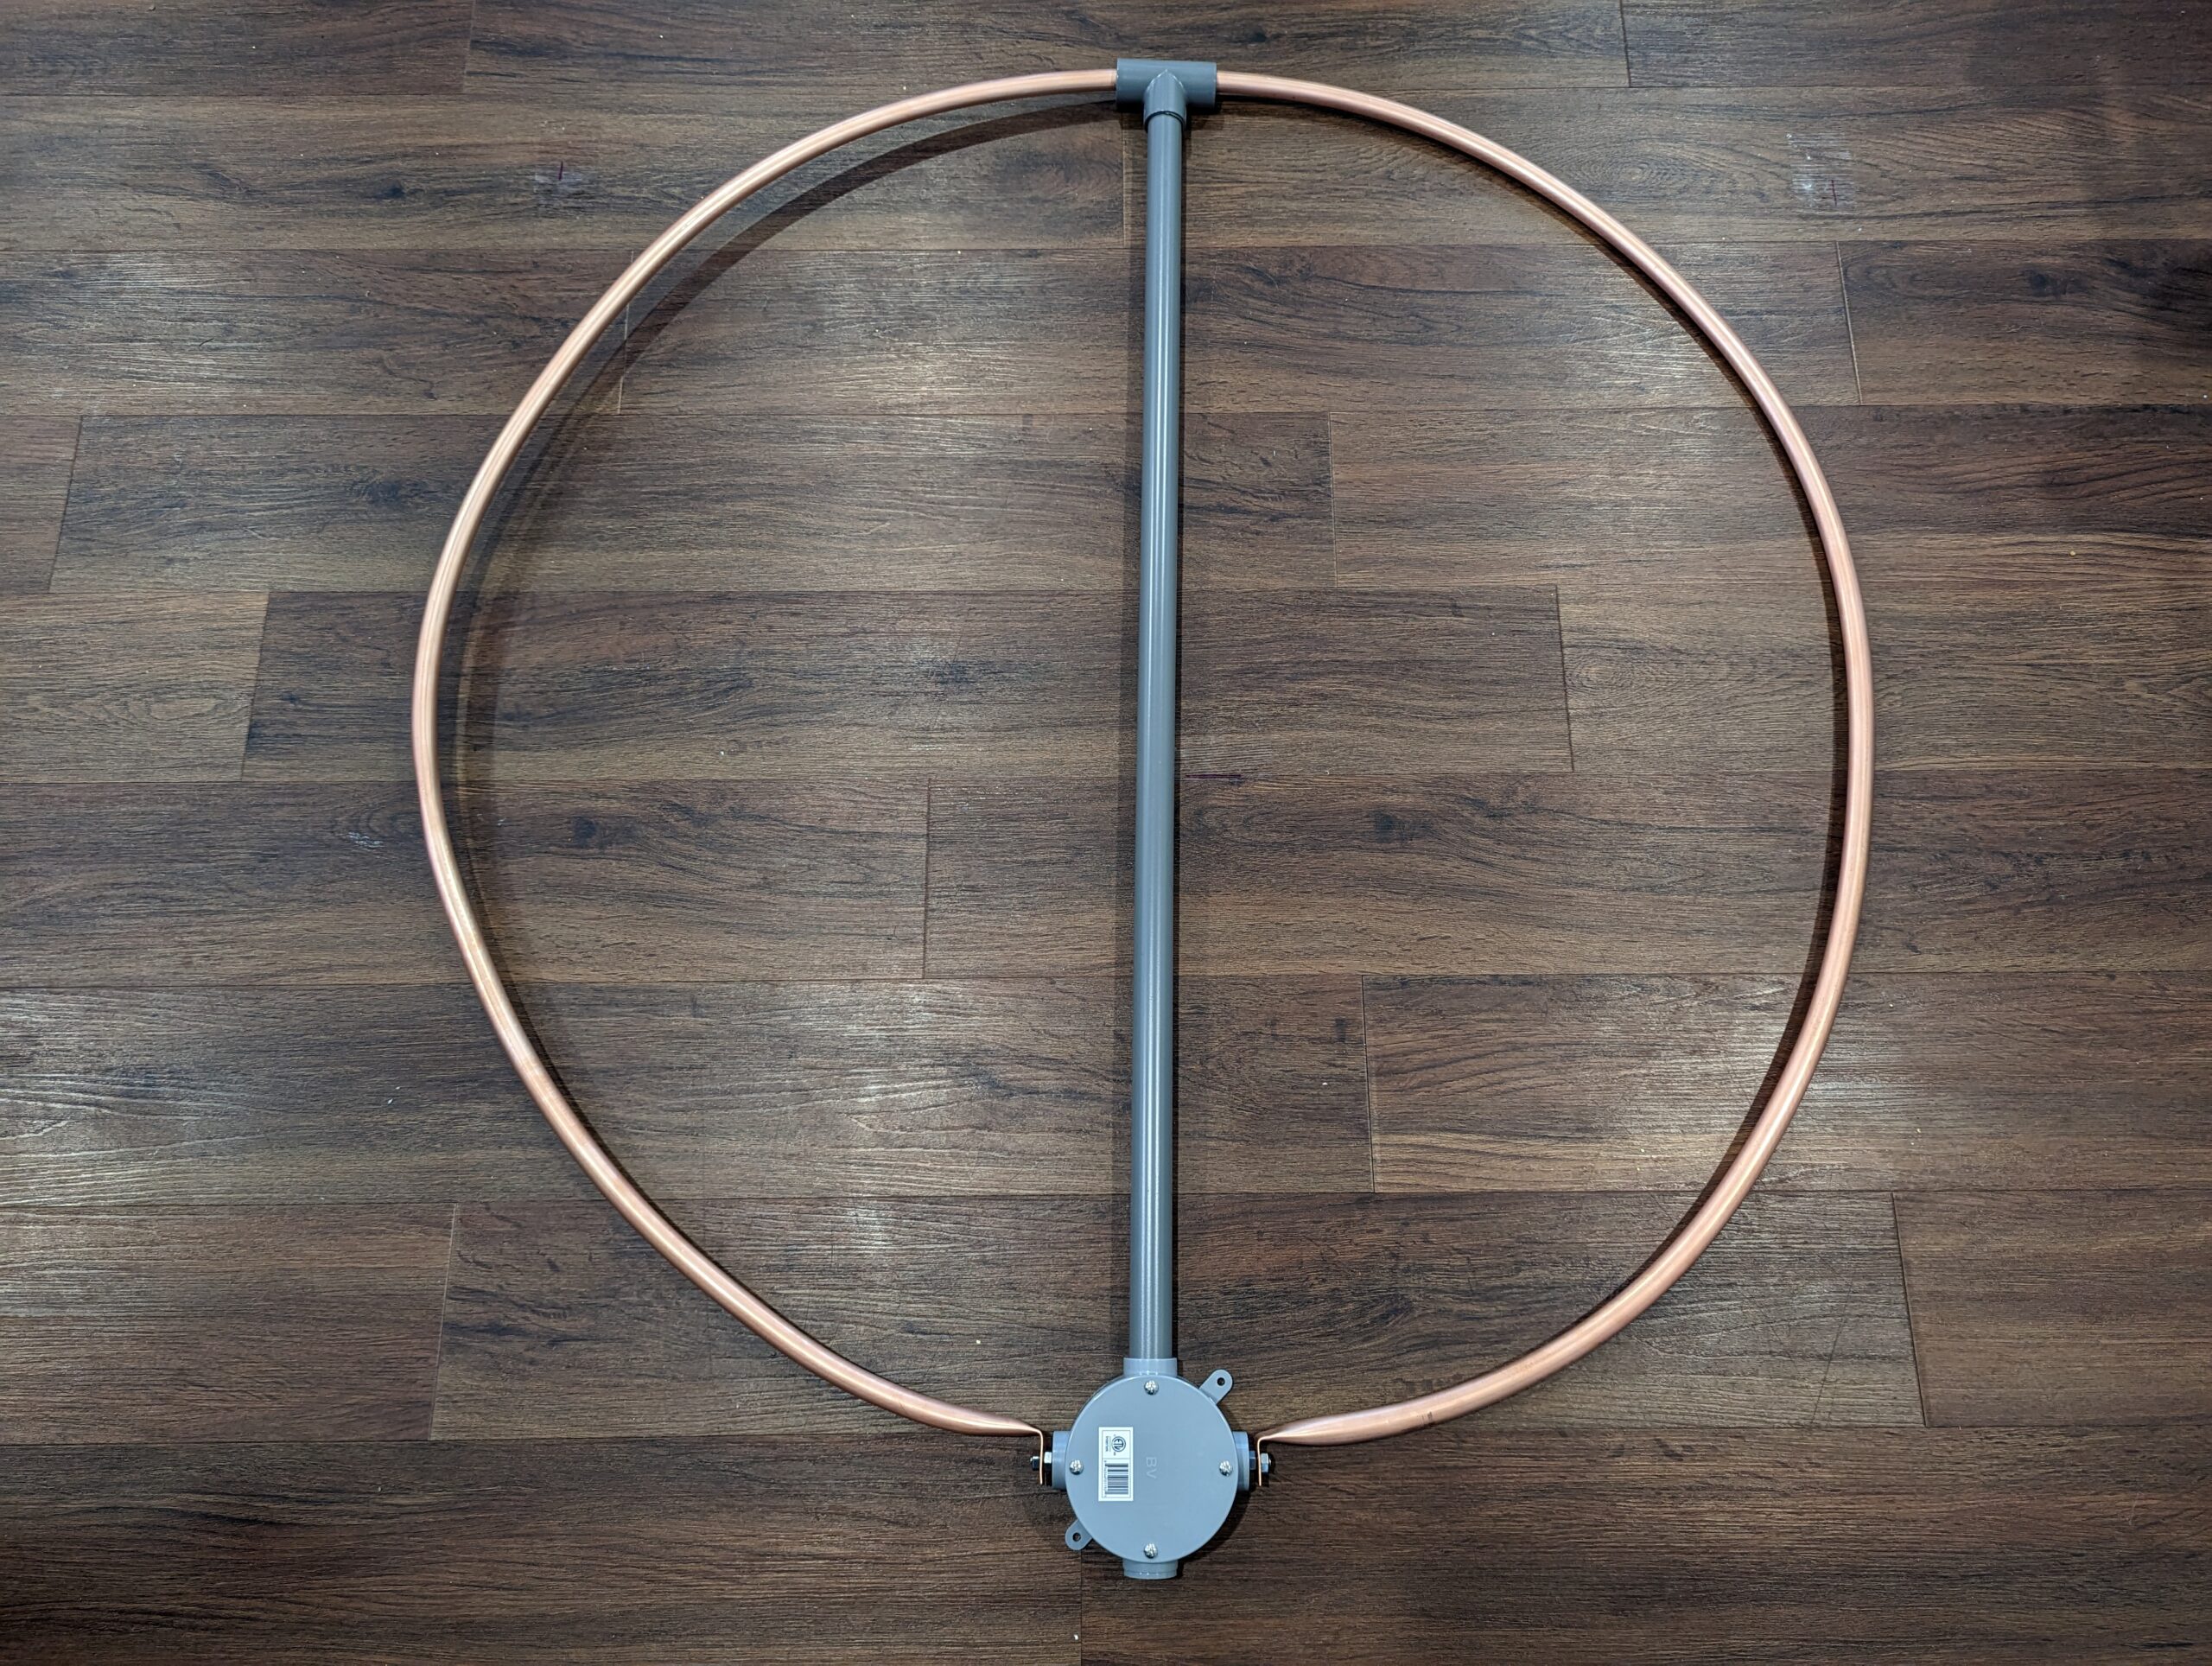
This is my finished WellGood antenna. I added the loop support and sealed up the inside of the T fitting to waterproof for mounting on my roof. This was a super easy build and the performance of this is pretty impressive for the price when the competition is more than 5 times the price.