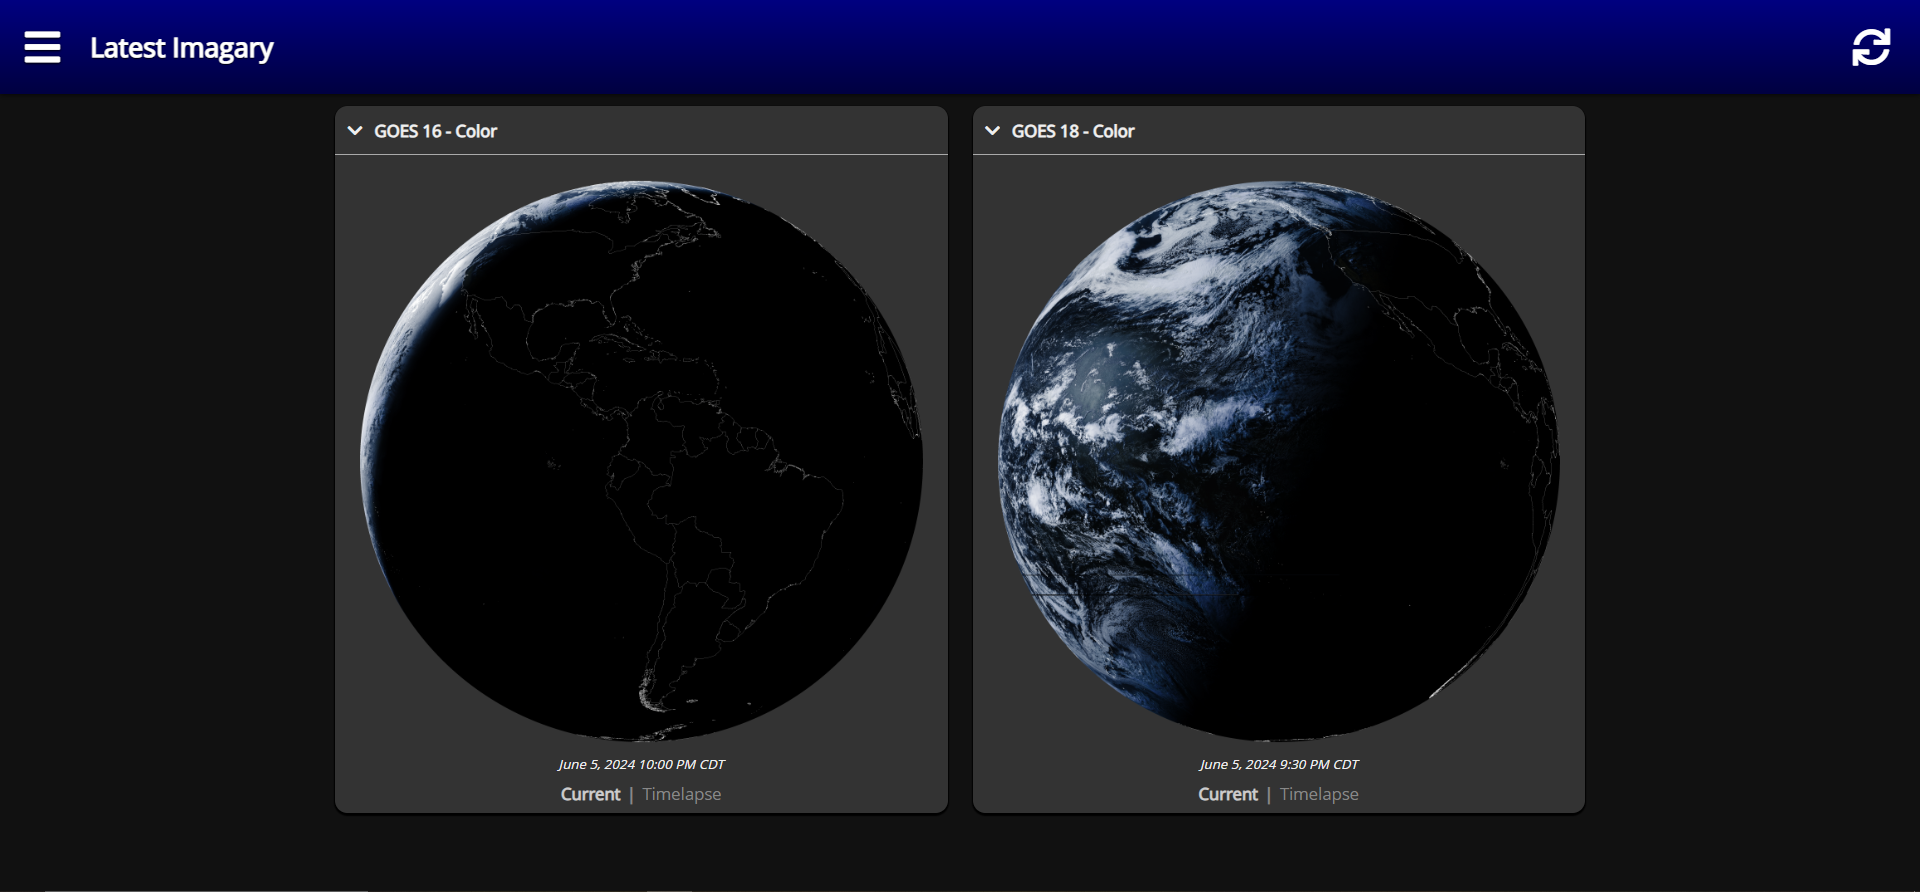
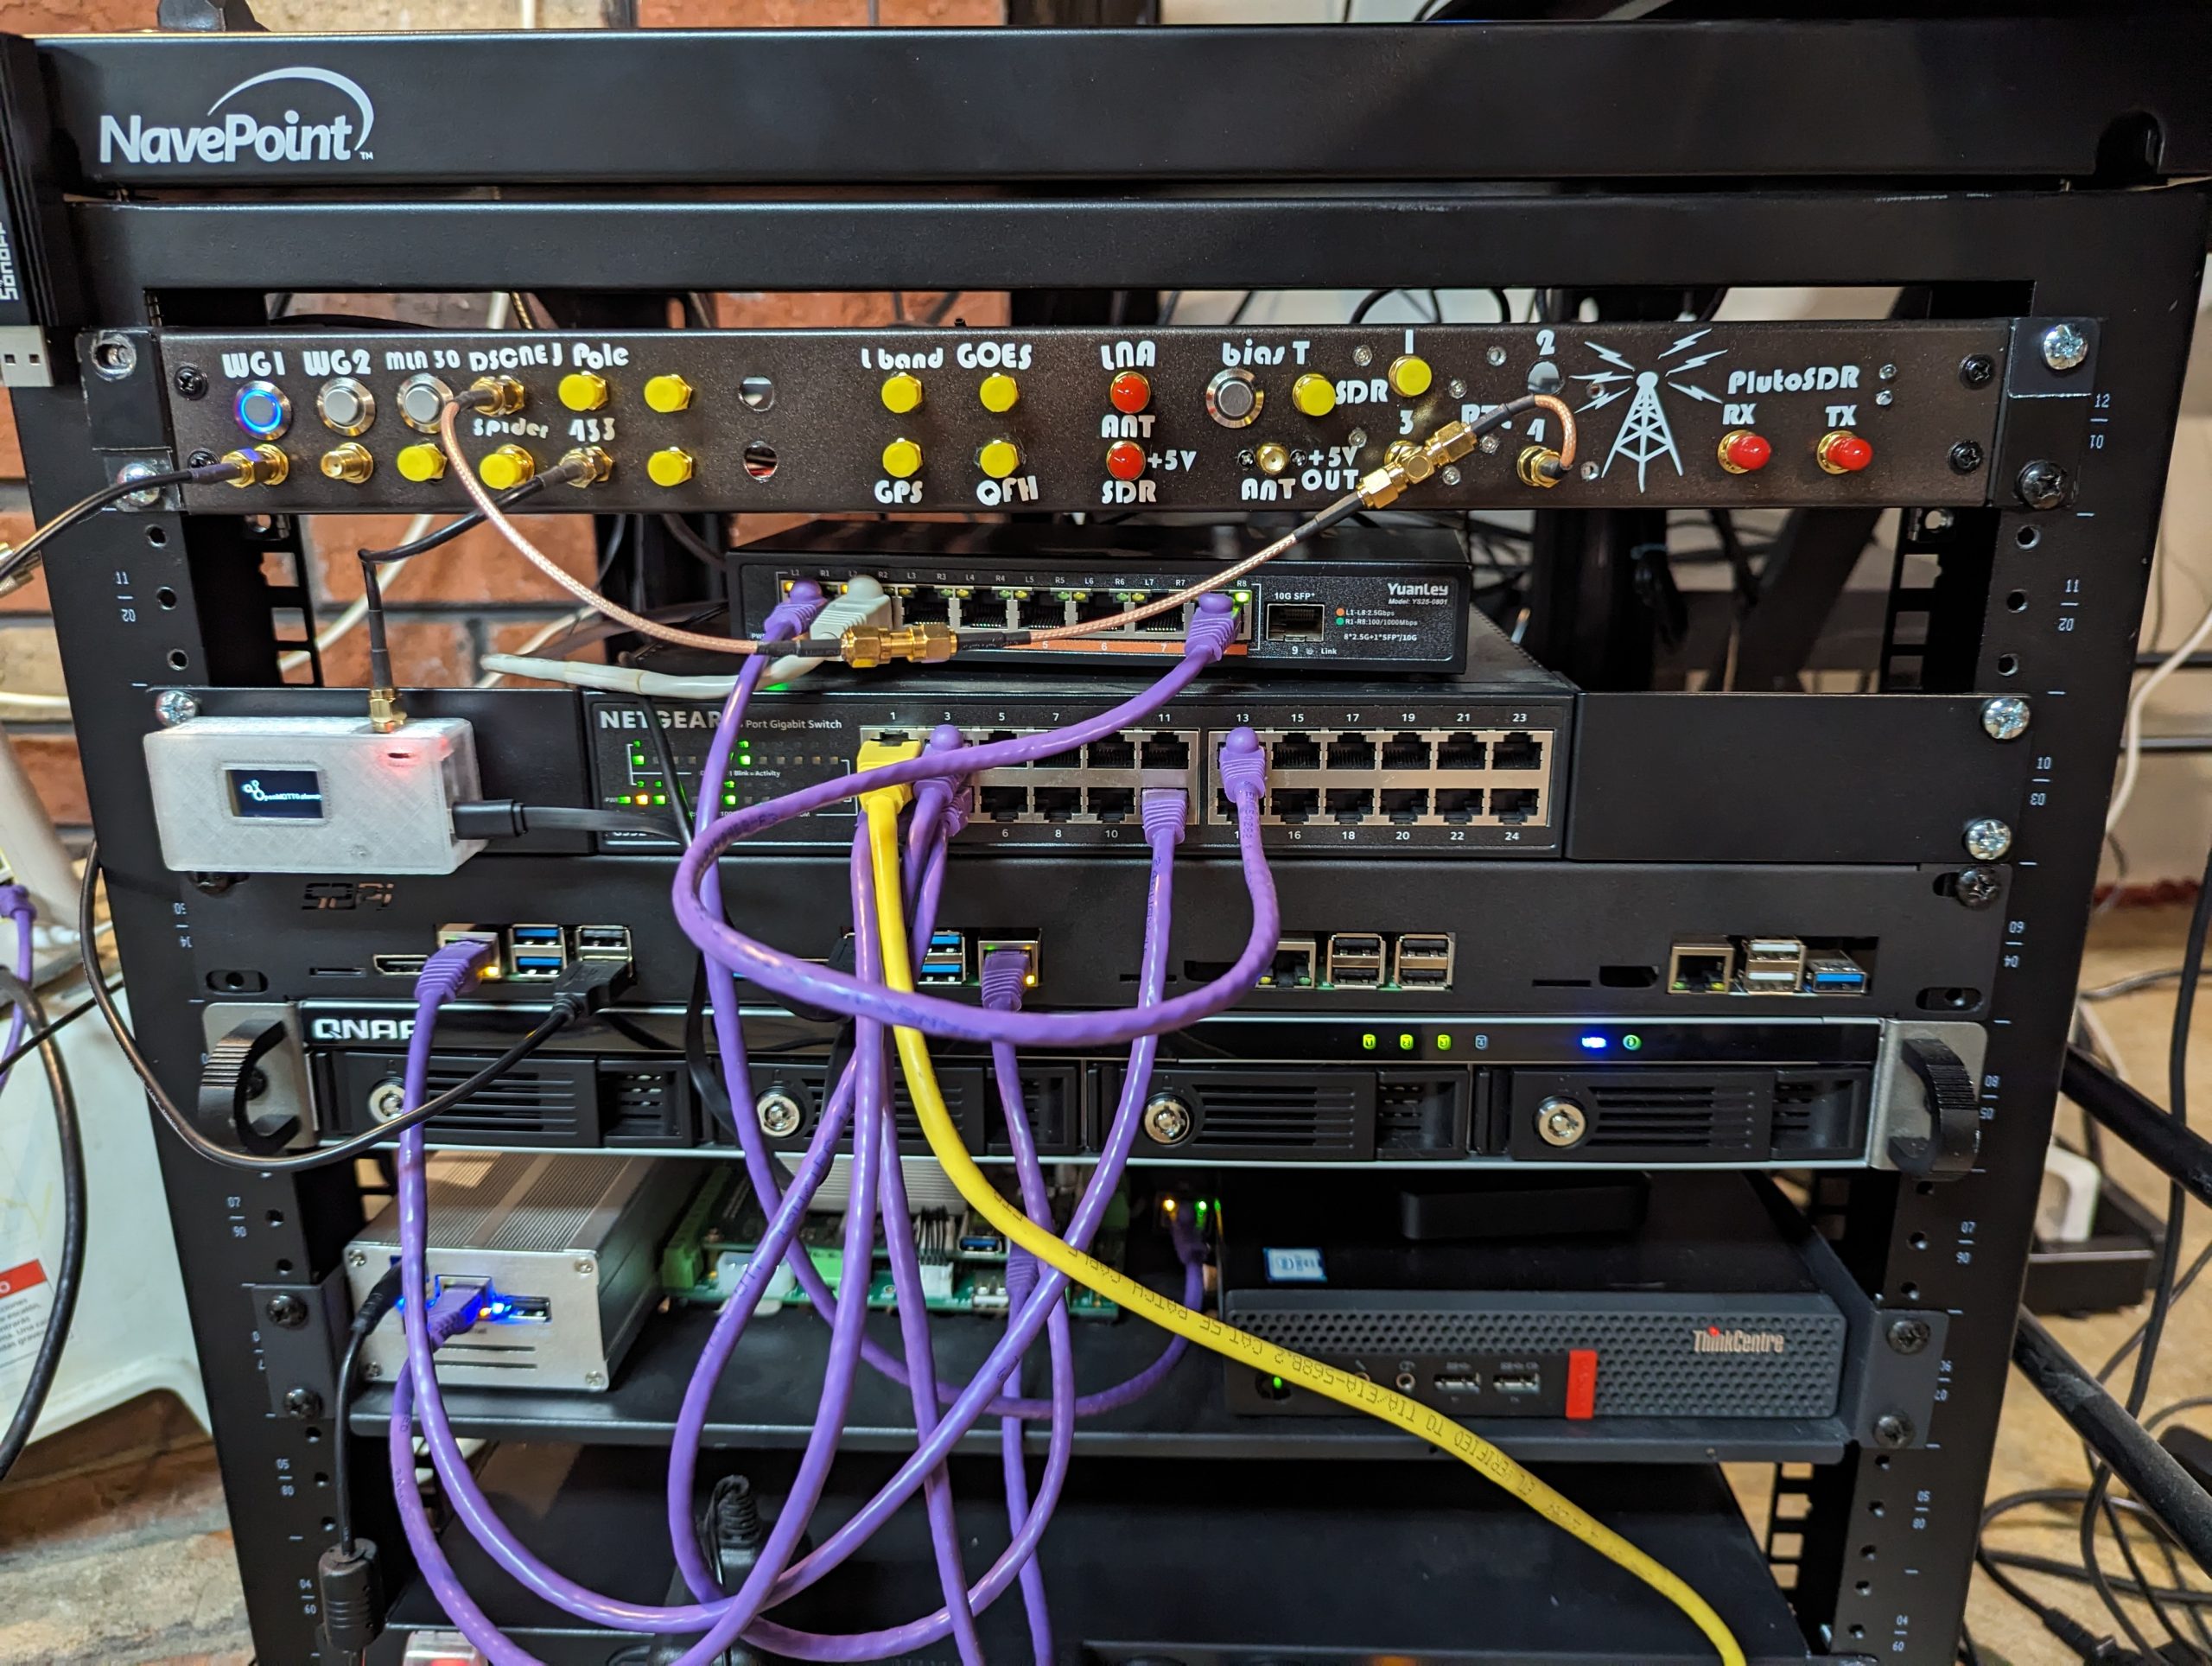
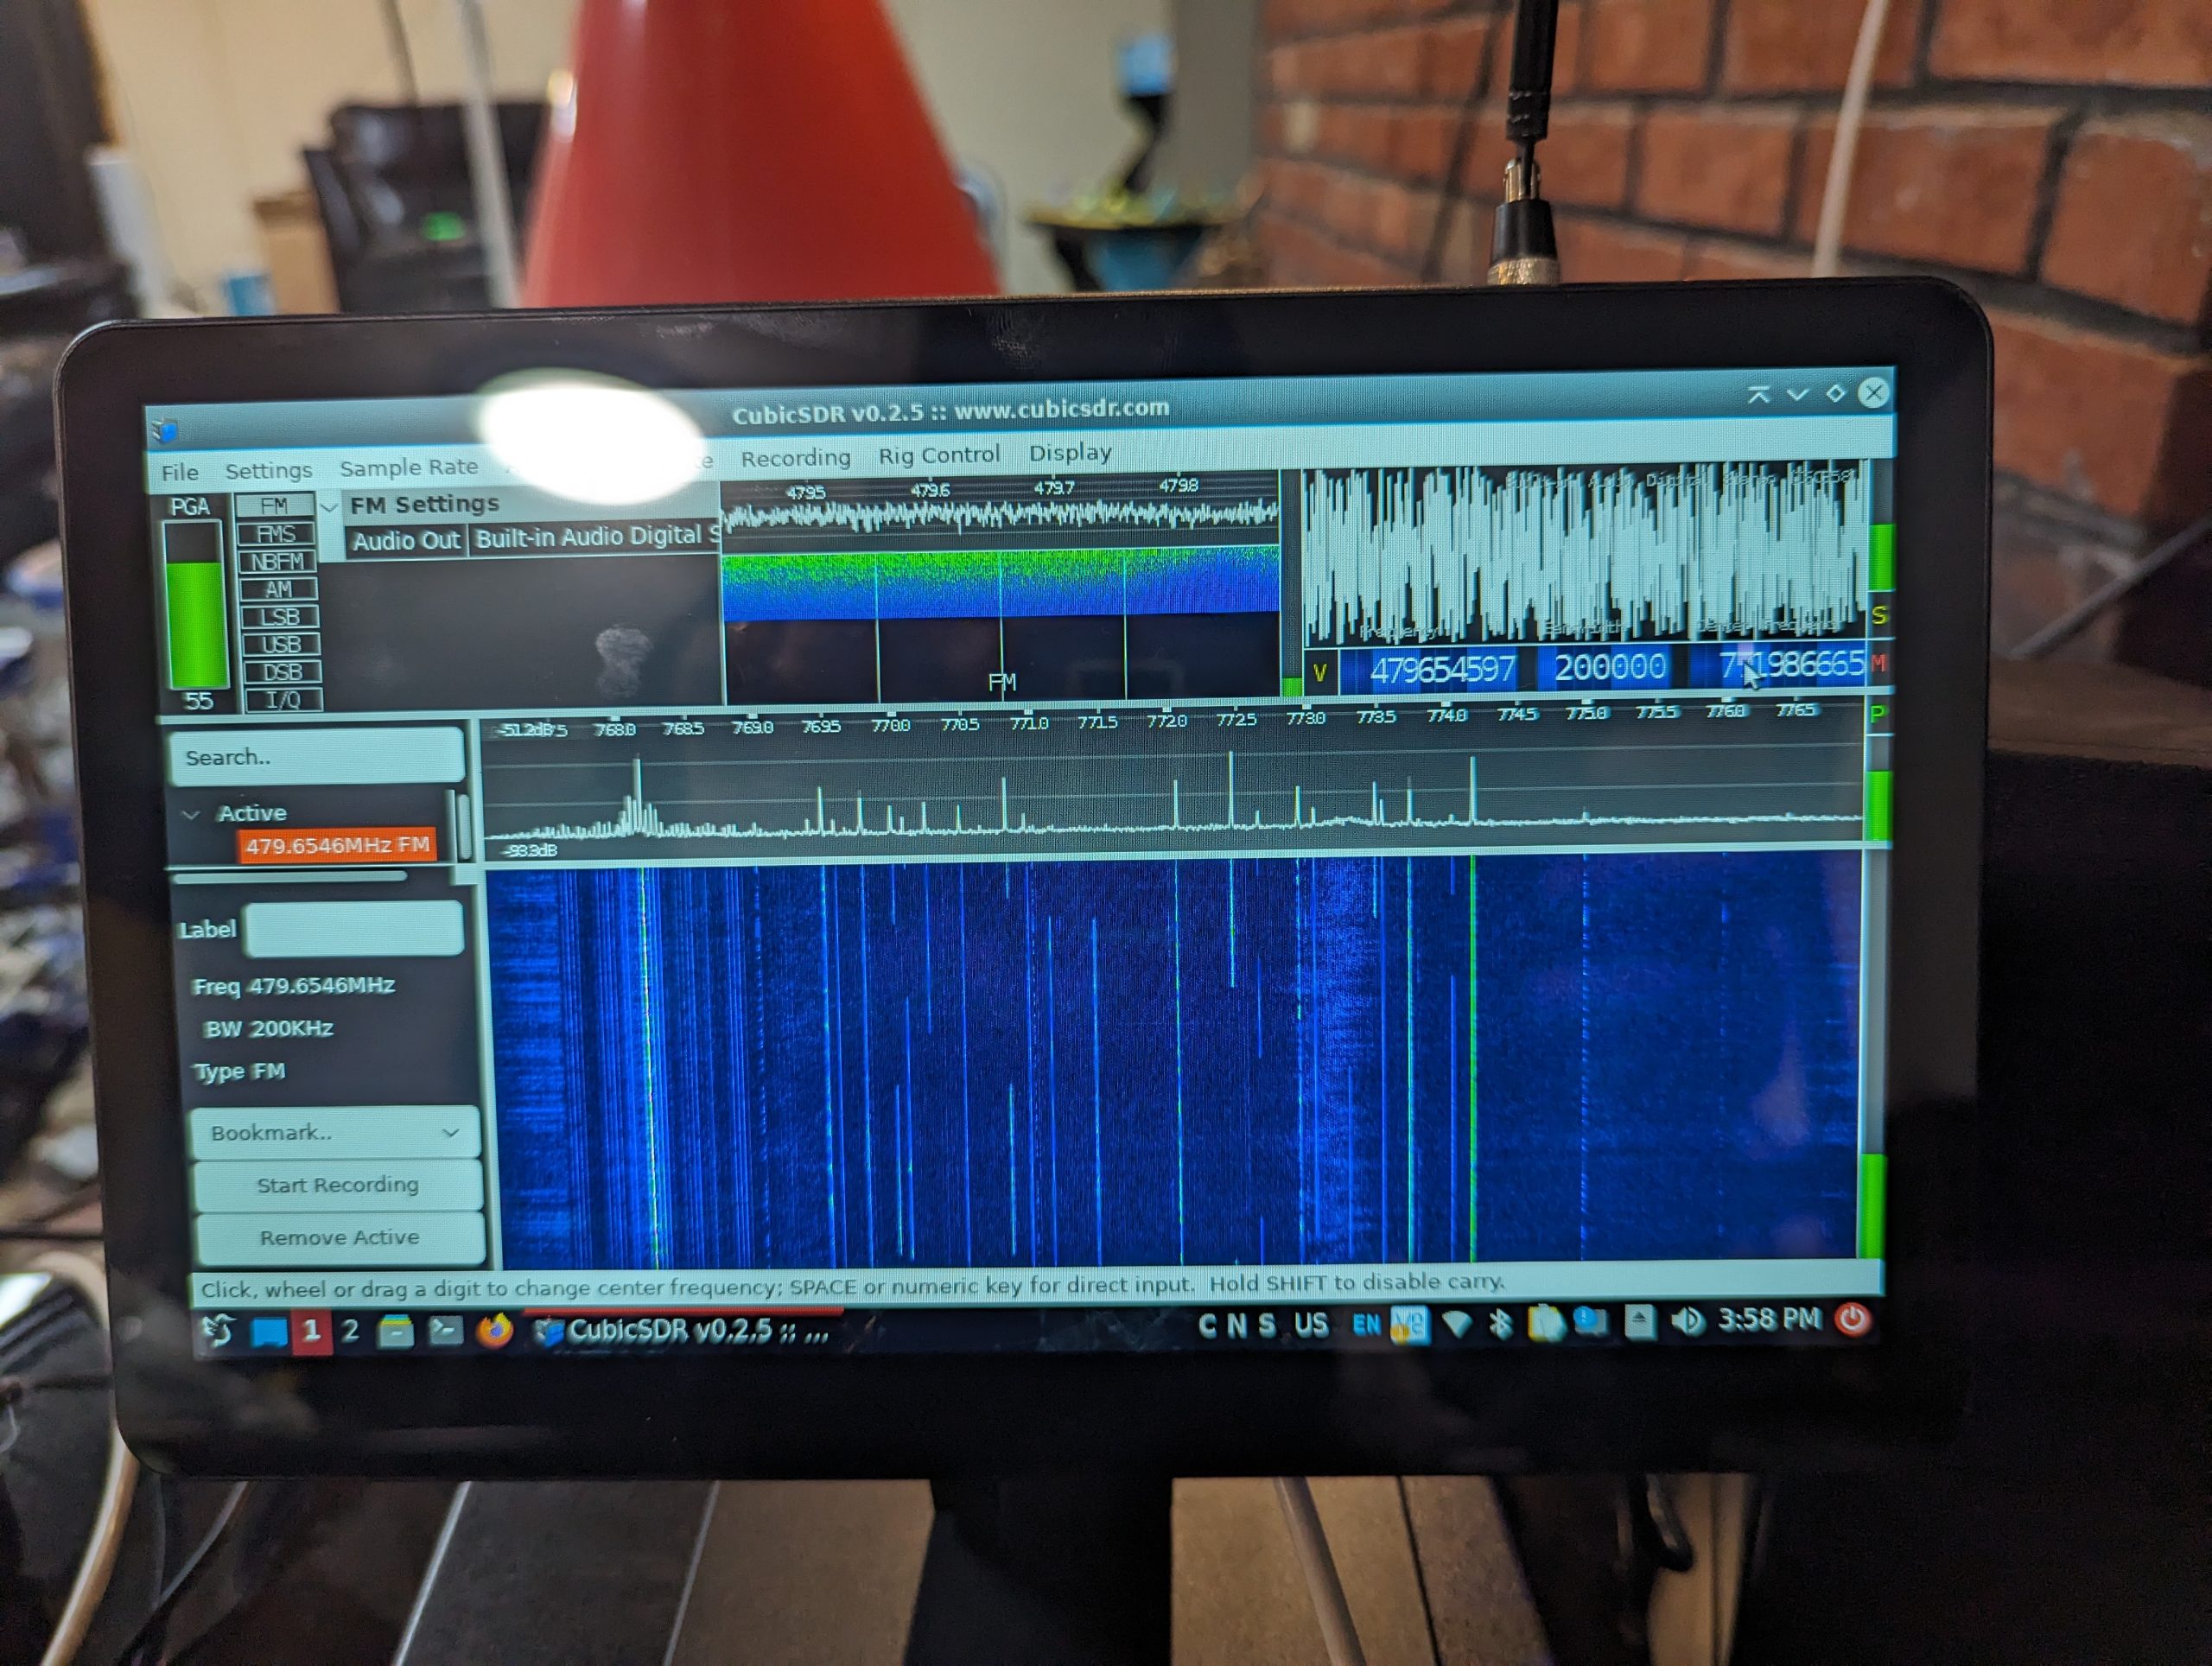
I am running the RaspiNOAA image on a Raspberry Pi 4 4GB with a 128gb SD card. This setup has the NOAA APT and METEOR on one SDR and GOES on the 2nd SDR.
This assumes you already have the latest RaspiNOAA image all setup and running. I would suggest at the very minimum you change your username and password from the default one. This guide is set for GOES 16 but easily used for GOES 18 also by changing the 16 to 18 in everything. This guide should work on any Debian based system i.e. Ubuntu with RaspberryNOAA setup
sudo usermod -a -G www-data noaa
sudo mkdir /srv/live_output
sudo chown -R noaa:www-data /srv/live_output
cd ~
git clone https://github.com/JVital2013/vitality-goes.git
cd vitality-goes
sudo mkdir /var/www/vitality-goes
sudo mkdir /var/www/vitality-goes/videos
sudo chown -R noaa:www-data /var/www/vitality-goes
cp -Rf html/* /var/www/vitality-goes
cp -Rf configs/satdump-goes16/* /var/www/vitality-goes/config
Open /var/www/goes/config/config.ini in the text editor or with
nano /var/www/goes/config/config.iniand make it look like this. Edit your location also as this is for the DuPage Airport near me.
[general]
;siteTitle = "My GOES-16 Data"
;siteTheme = "light"
satdumpAPI = http://127.0.0.1:8080/api
adminPath = "/srv/live_output/GOES16/Admin Messages"
emwinPath = "/srv/live_output/GOES16/EMWIN"
fastEmwin = true
spaceWeatherAlerts = false
showSysInfo = true
debug = false

[paths]
GOES16 = "/srv/live_output/GOES16"

[categories]
abi = abi.ini
meso = meso.ini
nws = nws.ini
emwin = emwin.ini

[location]
radarCode = GRTLK
stateAbbr = IL
wxZone = ILZ013
orig = LOTIL
rwrOrig = LOTIL
city = Dupage Airport
lat = 44.03
lon = -88.07
timezone = America/Chicago

[otheremwin]
ini = otheremwin.ini
allowUserLoader = true
maxUserFiles = 1000
Next we need to open /var/www/goes/config/scriptconfig.ini in the text editor or with
nano /var/www/goes/config/scriptconfig.iniand change the path on videoDIr, abiSourceDir, and emwinSrcDir like this.
videoDir="/var/www/vitality-goes/videos"
#ffmpegBinary="C:\path\to\ffmpeg.exe"

abiSrcDir="/srv/live_output/GOES16"
abiImgSource=("$abiSrcDir/IMAGES/GOES-16/Full Disk" "$abiSrcDir/IMAGES/GOES-16/Full Disk" "$abiSrcDir/IMAGES/GOES-16/Full Disk" "$abiSrcDir/IMAGES/GOES-16/Full Disk" "$abiSrcDir/IMAGES/GOES-16/Full Disk" "$abiSrcDir/IMAGES/GOES-16/Full Disk" "$abiSrcDir/IMAGES/GOES-16/Full Disk" "$abiSrcDir/IMAGES/GOES-16/Full Disk" "$abiSrcDir/IMAGES/GOES-16/Full Disk" "$abiSrcDir/IMAGES/GOES-16/Full Disk" "$abiSrcDir/IMAGES/GOES-16/Full Disk" "$abiSrcDir/IMAGES/GOES-16/Full Disk" "$abiSrcDir/IMAGES/GOES-16/Full Disk" "$abiSrcDir/IMAGES/GOES-16/Full Disk" "$abiSrcDir/IMAGES/GOES-18/Full Disk" "$abiSrcDir/IMAGES/GOES-18/Full Disk" "$abiSrcDir/IMAGES/GOES-16/Mesoscale 1" "$abiSrcDir/IMAGES/GOES-16/Mesoscale 1" "$abiSrcDir/IMAGES/GOES-16/Mesoscale 1" "$abiSrcDir/IMAGES/GOES-16/Mesoscale 1" "$abiSrcDir/IMAGES/GOES-16/Mesoscale 1" "$abiSrcDir/IMAGES/GOES-16/Mesoscale 1" "$abiSrcDir/IMAGES/GOES-16/Mesoscale 2" "$abiSrcDir/IMAGES/GOES-16/Mesoscale 2" "$abiSrcDir/IMAGES/GOES-16/Mesoscale 2" "$abiSrcDir/IMAGES/GOES-16/Mesoscale 2" "$abiSrcDir/IMAGES/GOES-16/Mesoscale 2" "$abiSrcDir/IMAGES/GOES-16/Mesoscale 2")
abiImgFilter=("GEO_False_Color_map" "_2_" "_7_" "_8_" "_9_" "_13_" "_14_" "_15_" "Shortwave_Window_Band_map" "Upper-Level_Tropospheric_Water_Vapor_map" "Mid-level_Tropospheric_Water_Vapor_map" "Clean_Longwave_IR_Window_Band_map" "Infrared_Longwave_Window_Band_map" "Dirty_Longwave_Window_map" "_13_" "Clean_Longwave_IR_Window_Band_map" "GEO_False_Color_map" "_2_" "_7_" "Shortwave_Window_Band_map" "_13_" "Clean_Longwave_IR_Window_Band_map" "GEO_False_Color_map" "_2_" "_7_" "Shortwave_Window_Band_map" "_13_" "Clean_Longwave_IR_Window_Band_map")
abiVidName=("GOES16FalseColor" "GOES16Ch2" "GOES16Ch7" "GOES16Ch8" "GOES16Ch9" "GOES16Ch13" "GOES16Ch14" "GOES16Ch15" "GOES16Ch7Enhanced" "GOES16Ch8Enhanced" "GOES16Ch9Enhanced" "GOES16Ch13Enhanced" "GOES16Ch14Enhanced" "GOES16Ch15Enhanced" "GOES18Ch13" "GOES18Ch13Enhanced" "GOES16FalseColor_M1" "GOES16Ch2_M1" "GOES16Ch7_M1" "GOES16Ch7Enhanced_M1" "GOES16Ch13_M1" "GOES16Ch13Enhanced_M1" "GOES16FalseColor_M2" "GOES16Ch2_M2" "GOES16Ch7_M2" "GOES16Ch7Enhanced_M2" "GOES16Ch13_M2" "GOES16Ch13Enhanced_M2")

emwinSrcDir="/srv/live_output/GOES16/EMWIN"
emwinCodeName=("RADNTHES" "RADREFUS" "GMS008JA" "G16CIRUS" "G10CIRUS" "G10FDIUS" "INDCIRUS")
emwinVideoName=("LocalRadar" "USRadar" "HIMAWARI" "GOES16EMWIN" "GOESWESTWC" "GOESWESTFD" "METEOSAT")
Due to RaspberryNOAA’s website being binded to port 80 we need to add the nginx config to serve the Vitality-GOES website on port 81. You could also add a directory alias for port 80 instead of 81.
sudo nano /etc/nginx/sites-available/vitality-goesPaste the following and save the file
server {
  listen 81;
  # Enabling IPv6 support making the server accessible from the internet
  listen [::]:81;

  root /var/www/vitality-goes/;
  index index.php index.html index.htm index.nginx-debian.html;
  autoindex on;

  server_name raspberry-noaa.localdomain;

  gzip on;
  gzip_vary on;
  gzip_min_length 1024;
  gzip_proxied expired no-cache no-store private auth;
  gzip_types text/plain text/css text/xml text/javascript application/x-javascript application/xml;
  gzip_disable "MSIE [1-6]\.";

  location / {
   try_files $uri $uri/ /index.php?$args;
  }

  location ~ \.php$ {
    include snippets/fastcgi-php.conf;
    fastcgi_pass unix:/var/run/php/php7.4-fpm.sock;
  }
}
Now run the following
sudo ln -s /etc/nginx/sites-available/vitality-goes /etc/nginx/sites-enabled/
sudo systemctl reload nginx
sudo ufw allow 81
You should now be able to load the VItalityGOES website at http://127.0.0.1:81 but it will not have any data yet.
You need to setup your QTH latitude and longitude in SatDump the easiest way to do this is by running satdump-ui and clicking the settings tab and then General SatDump. Fill in your Lat, Lon, and Elevation now save the settings and exit the program.
You can test with the GUI but it is not recommended to run satdump-ui long term as it seems to crash a lot. if you do dont forget to change the default live output directory to /srv/live_output/GOES16/ in the settings tab
next we need to set up cron to run the scripts included
sudo nano /etc/cron.d/goesPaste the following and change youruser to your username
0 0 * * * youruser bash -lc /path/to/vitality-goes/scripts/CreateVideos-ABI.sh
0 2 * * * youruser bash -lc /path/to/vitality-goes/scripts/CreateVideos-EMWIN.sh
55 11 * * * youruser bash -lc /path/to/vitality-goes/scripts/Cleanup-EmwinText.sh
25,55 2-23 * * * youruser bash -lc /path/to/vitality-goes/scripts/Sanchez.sh
Now run
sudo service cron reloadWe need to start SatDump from the command line and let the data start flowing. Make sure to change your sdr id if you get no lock as it may be using your APT dongle. you can run satdump sdr_probe to get your sdr id.
#GOES16
satdump live goes_hrit /srv/live_output/GOES16 --source rtlsdr --source_id 00000002 --samplerate 2.4e6 --frequency 1694.1e6 --gain 44.5 --bias --http_server 0.0.0.0:8080

#GOES18
satdump live goes_hrit /srv/live_output/GOES18 --source rtlsdr --source_id 00000001 --samplerate 2.4e6 --frequency 1694.1e6 --gain 44.5 --bias --http_server 0.0.0.0:8080
Let this run for at least an hour and you should start seeing images on the Vitality-GOES website.
Automatically starting SatDump on boot
Next we need to set SatDump to run at boot we can do this a few ways but I like adding a service the best.
sudo nano /etc/systemd/system/satdump-goes16.serviceCopy and paste the following edit if needed then save the file.
[Unit]
Description=SatDump GOES 16 service
After=network.target
StartLimitIntervalSec=0
[Service]
Type=simple
StandardOutput=null
StandardError=null
Restart=always
RestartSec=1
User=noaa
ExecStart=/usr/bin/satdump live goes_hrit /srv/live_output/GOES16 --source rtlsdr --source_id 00000002 --samplerate 2.4e6 --frequency 1694.1e6 --gain 44.5 --bias --http_server 0.0.0.0:8080

[Install]
WantedBy=multi-user.target
Now we need to run
sudo systemctl daemon-reload
sudo systemctl start satdump-goes16
sudo systemctl status satdump-goes16
As long as everything started right we can now enable starting at boot
sudo systemctl enable satdump-goes16Thats all that should be needed to auto start SatDump at boot. You can now reboot and then run the following and check the status.
sudo systemctl status satdump-goes16In order to update SatDump you will need to disable the service before updating with
sudo systemctl disable satdump-goes16After updating reenable with
sudo systemctl start satdump-goes16
sudo systemctl status satdump-goes16
sudo systemctl enable satdump-goes16


