
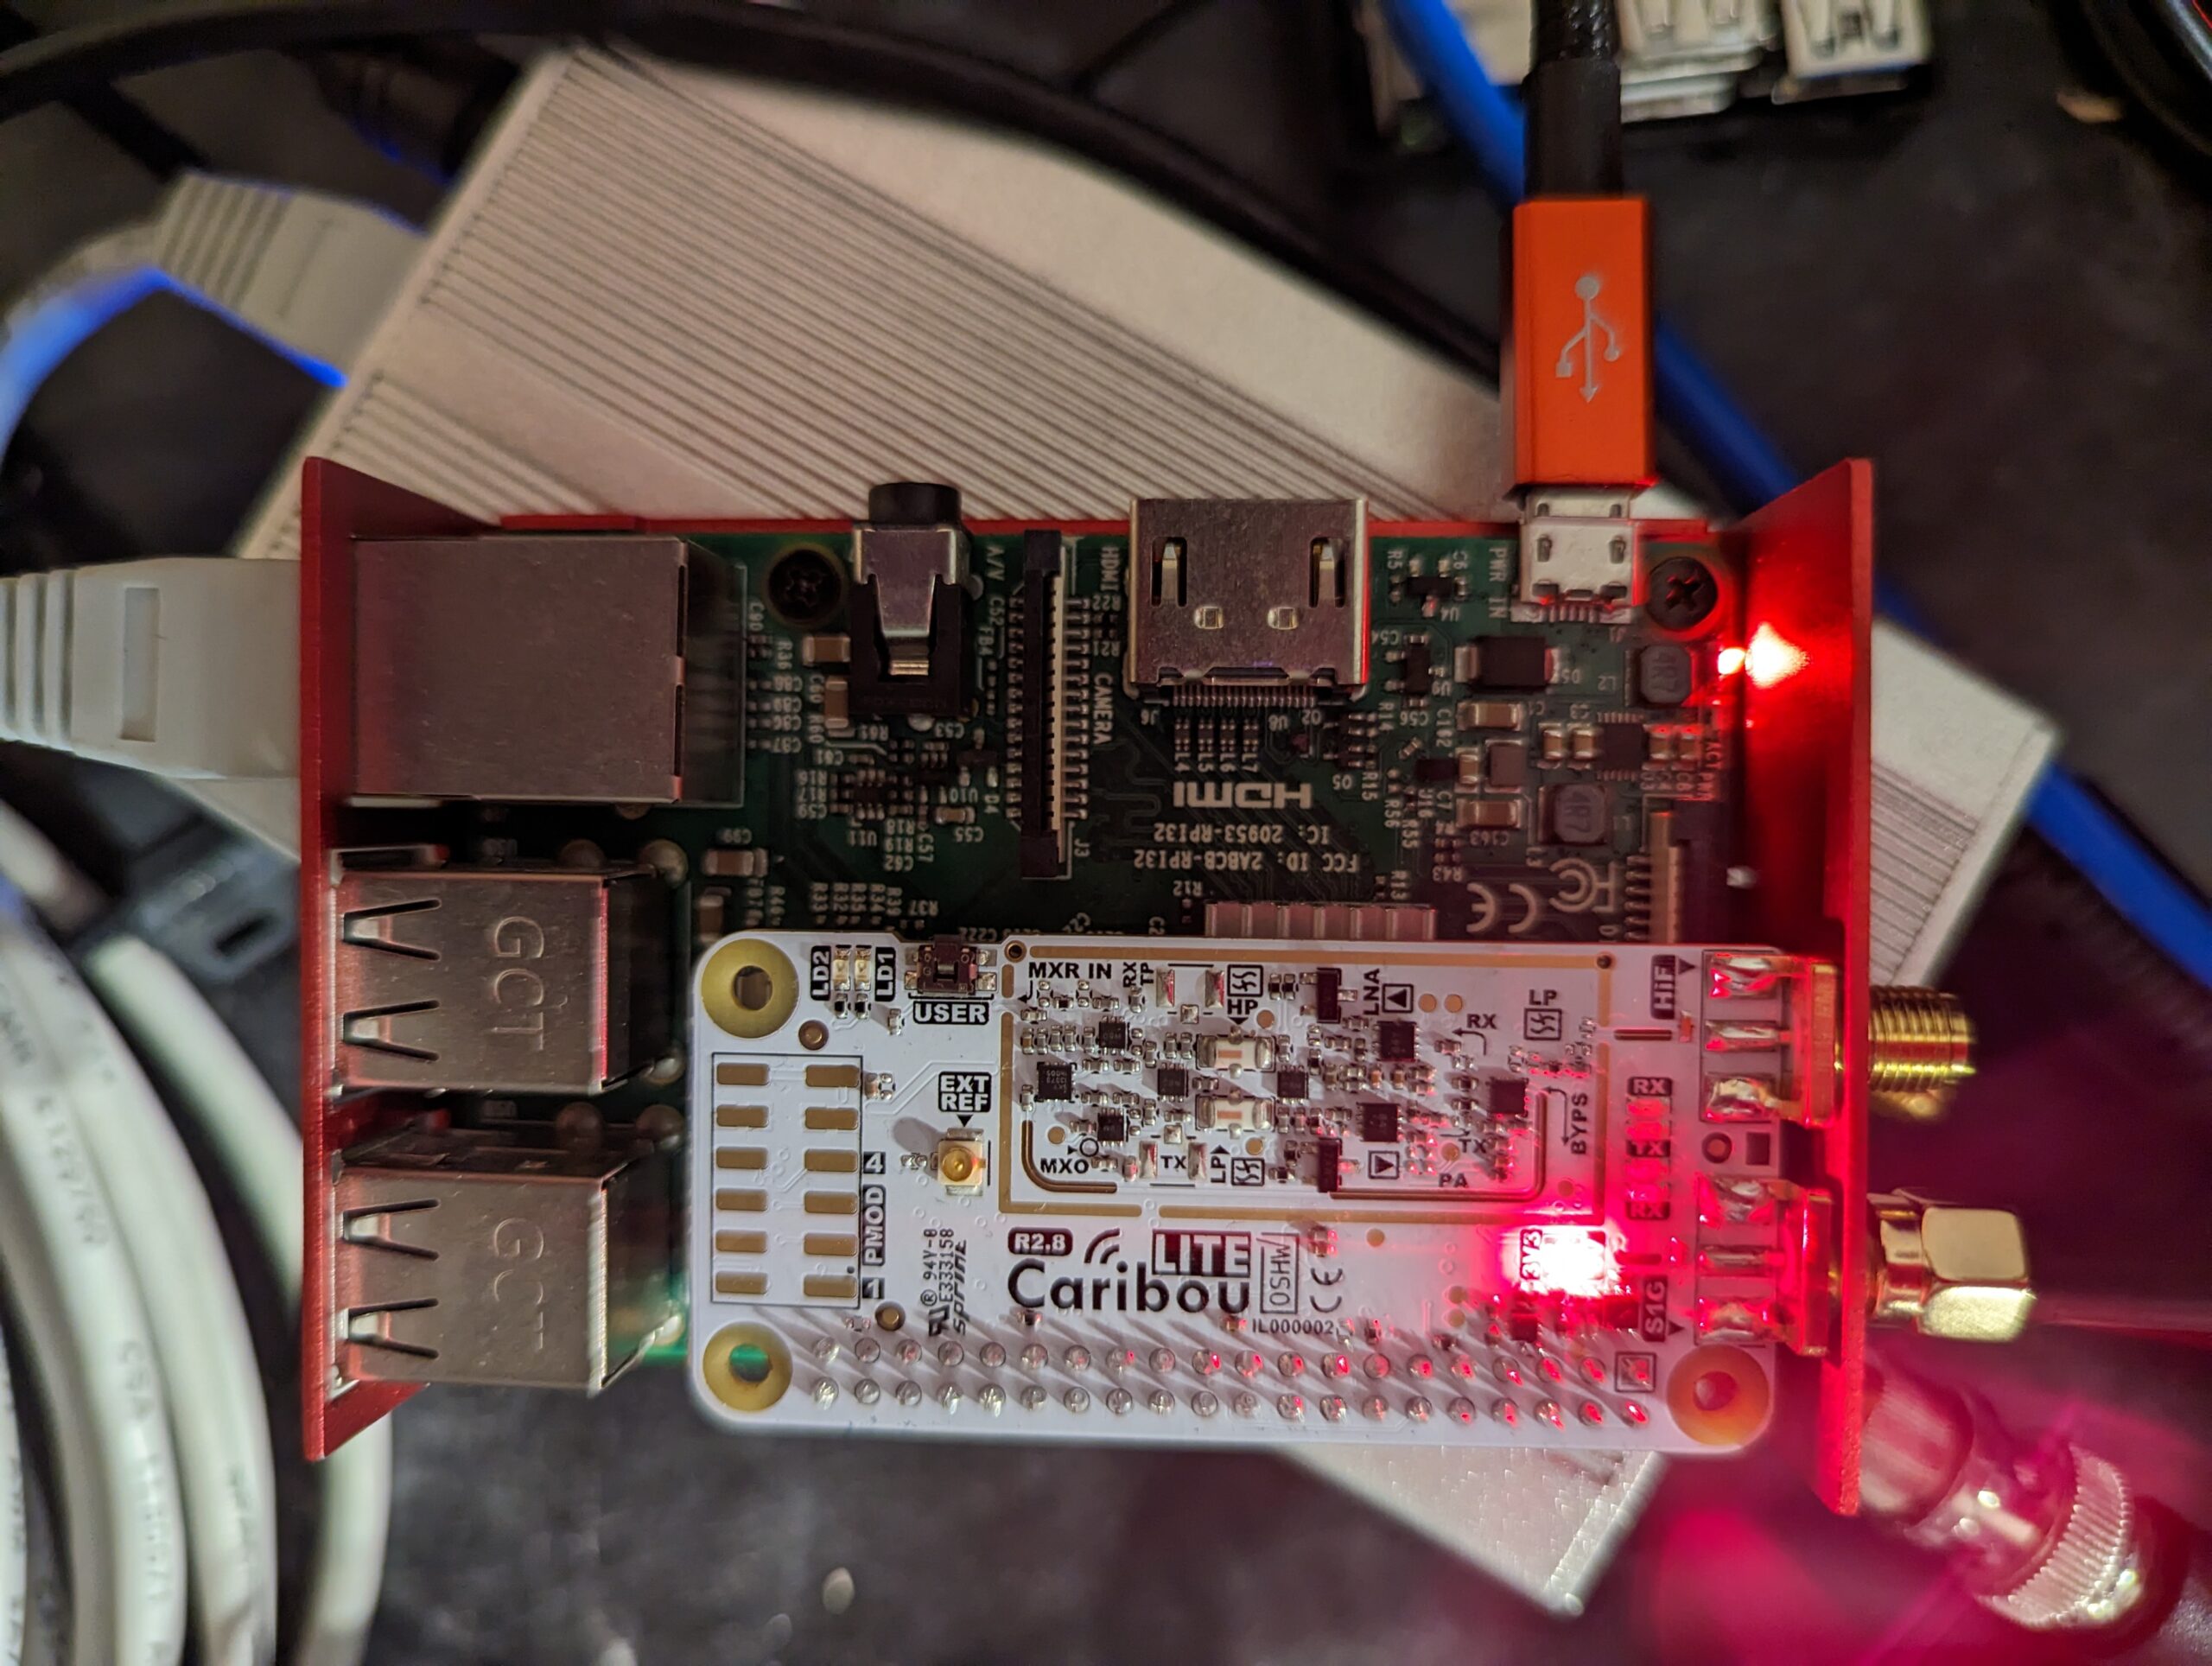
Ok so since so many have been having issues I figured I would post what I did to get it working. I am using a Pi 4 in headless mode. I chose DragonOS as it has pretty much everything SDR related already installed and seems to have the highest success rate of getting the Caribou working.
First I downloaded DragonOS from https://sourceforge.net/projects/dragonos-pi64/
Then I downloaded the Raspberry Pi Imager from https://www.raspberrypi.com/software/
I then opened the RPi Imager, selected custom file, and chose the DragonOS file. Then I chose my 64gb SD card as the destination and wrote the image. When it finished I put the SD card in and booted up the Pi.
Once in a desktop I opened a terminal and ran
sudo raspi-config
Once in raspi-config I changed its auto login to console only and changed the hostname to caribou, then I enabled SSH and rebooted.
If you are planning on using the pi with a desktop you can skip the raspi-config steps. I am running headless over network.
Next we need to set up SPI and i2c
sudo nano /boot/firmware/config.txt
find this section and make it look like this……
[all]
# Enable the audio output, I2C and SPI interfaces on the GPIO header. As these
# parameters related to the base device-tree they must appear *before* any
# other dtoverlay= specification
dtparam=audio=on
dtparam=i2c_arm=off
dtparam=spi=off
dtparam=i2c_vc=on
dtoverlay=spi1-3cs
Now hit CTRL+x and then y then the ENTER key to save the file
Next do
sudo usermod -a -G root,dialout ubuntu
Edit /etc/rc.local and directly above the ‘exit 0’ line, insert a new line with this: chmod g+rw /dev/gpiomem
then reboot with
sudo reboot
From here I used my laptop and SSH into the Caribou. If you are still on the Caribou itself in headless mode just login or if in a desktop open a terminal.
ssh ubuntu@(your caribou's ip)
I then ran the following commands
mkdir ~/projects
cd ~/projects
git clone https://github.com/cariboulabs/cariboulite
cd cariboulite
./install.sh
Note that the script will complain about the raspberry pi kernel headers not being found on apt-get but dont worry they are pre-installed in DragonOS
Let that chug along and cheer when it finishes.
I would then reboot and when back up run sudo SoapySDRUtil --find and you should see the Caribou listed
Congratulations its all set up.
Now for the receiving part. I cant for the life of me get anything to connect to SoapySDR but I found a way to get it going. SDR++ or SDRPP as the command goes is already installed and has a server mode that automatically sees the SoapySDR server so I ran
sudo sdrpp --server
Then on my laptop I installed sdrpp from https://github.com/AlexandreRouma/SDRPlusPlus/releases and connected to the sdrpp server
In SDRPP select SDRPP Server as source, input your Caribou’s IP and hit connect. It will then show remote source, select soapyremote and the caribou will show up.
Tune to a receivable freq for the caribou tuner you selected and hit the play button.
Auto gain control is broken and spikes the signal so I was getting good results between 22-30 and set decimation at 4-8. I had it at 4 but there is a post somewhere that said 4-8 seems best. Even though the HiF is claimed to be 30 MHz – 6 GHz I was tuning all the way down to 4 MHz listening to shortwave stations just fine with my MLA-30+ active loop antenna. Here is a picture of the 40 meter band

good luck and while I realize most of my issues are with not knowing how to use soapy properly this at least put my mind at ease knowing my hardware was working. I’ll figure out SoapySDR later. Hope this helps someone.